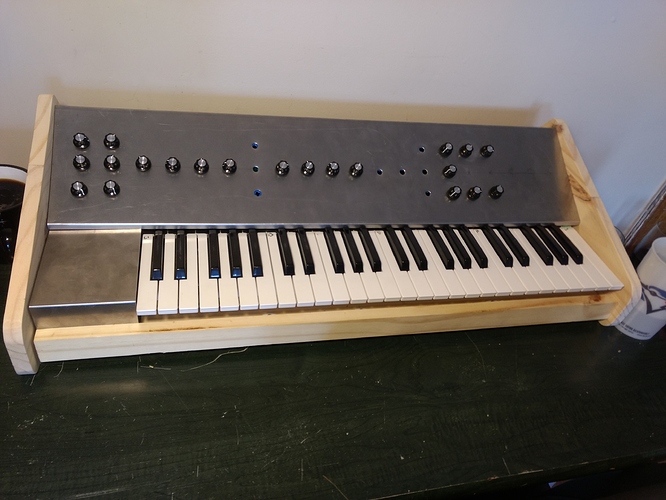
Here's where I'm at so far.
I started this project last year and have learned so many things along the way I have genuinely no idea where to start lol
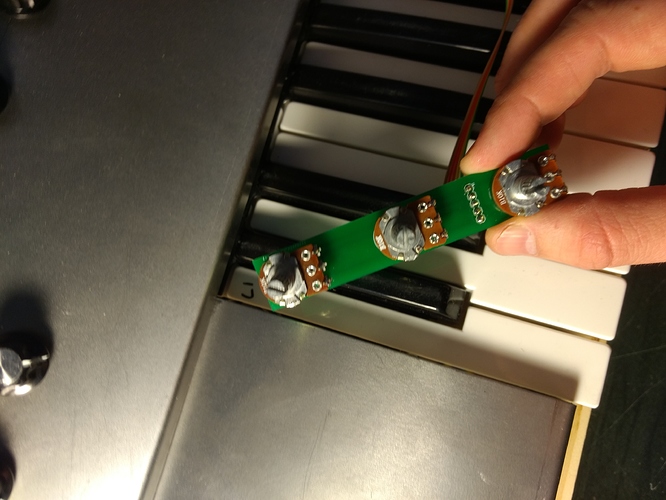
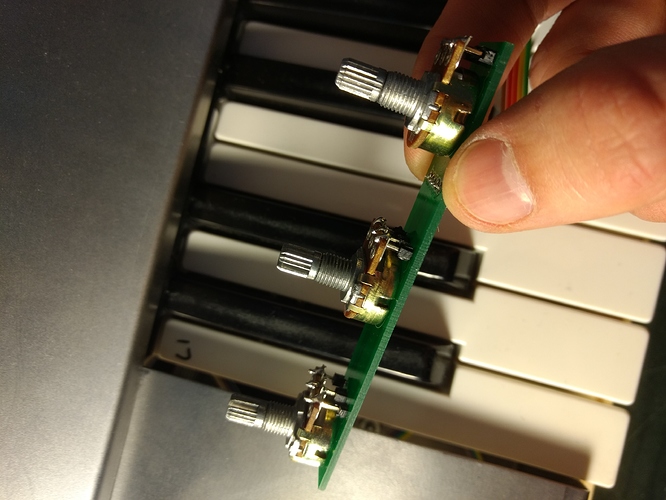
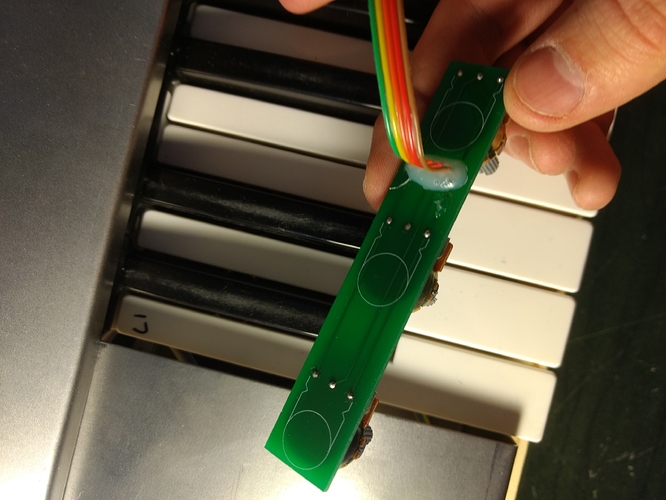
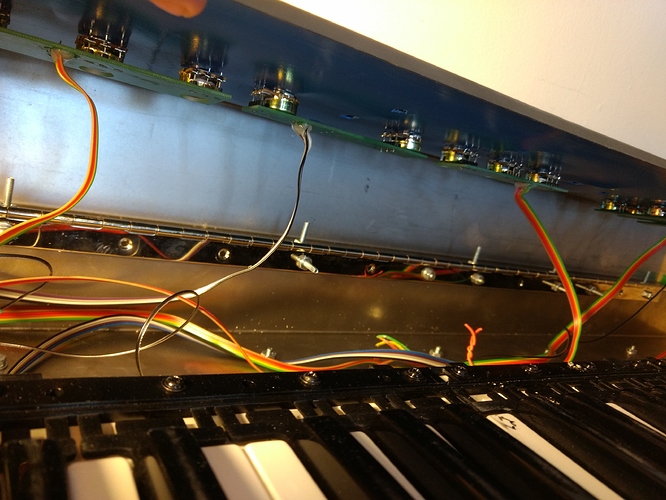
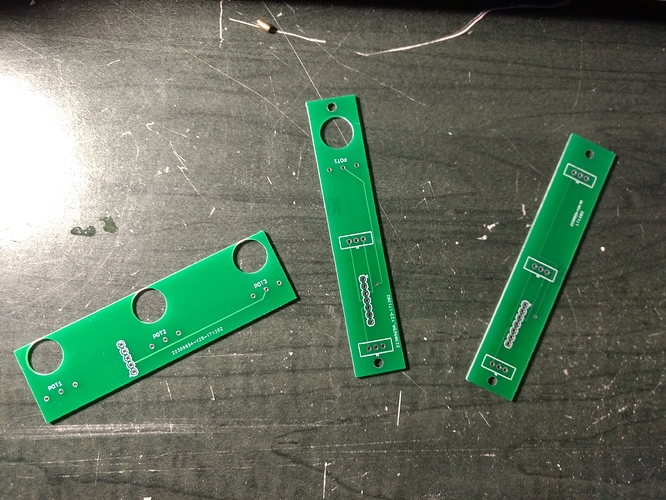
You might think the inside of this is a huge mess and the connections to that many potentiometers ended up being noise as a result of - it was! - but I came up with a simple solution to fix all this that was actually super inexpensive. I designed a few little breakout boards in Eagle that hold the potentiometers in place (and this keeps them nicely spaced too)
I use ribbon cable to connect these tiny little boards
To a motherboard!
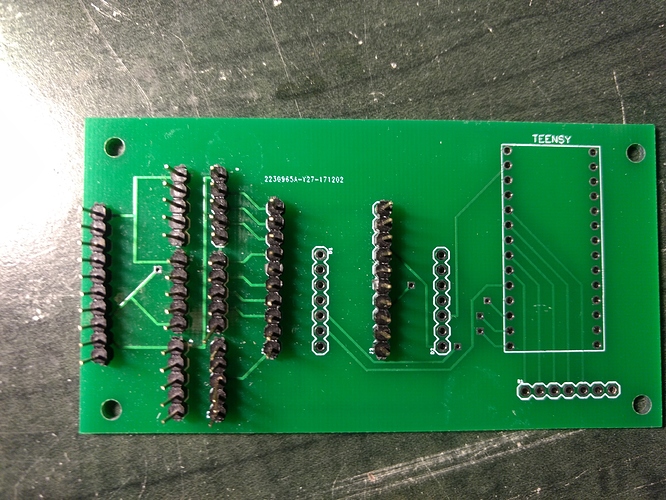
This mother board was the first one one I came up with and I totally messed it up (it was one of the very first things I ever made in Eagle so meh) it had connections for the axoloti to connect to 16 pots directly, then the rest connected to a teensy....I really fucked up the design of it and it was a total loss - but i learned a lot during the process.
Heres what the interiors looks like right now. Its pretty tidy and has a lot of space for at least one Axoloti and a couple other boards to rest comfortably
Now of course this wouldnt be a very interesting synth if it was nothing but potentiometers so I made a few different flavours of the small breakout boards that can be used for a number of different things (switches, leds, you name it!)
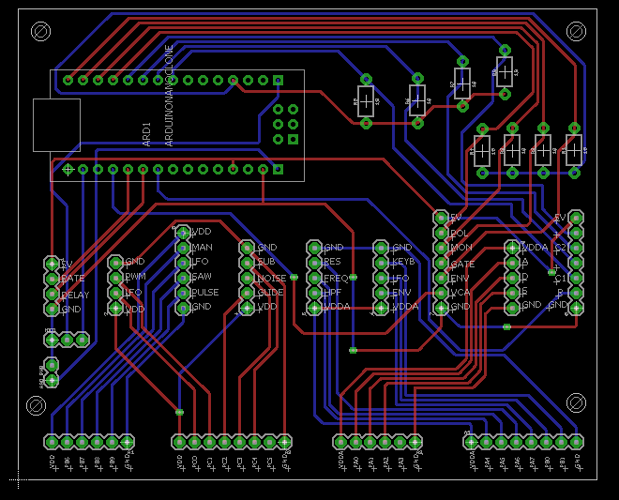
You'll notice that currently my synth is missing switches entirely - this is because I found some really nice looking switches that I like a lot more than the ones I designed these boards for so I'm waiting for my new boards for those switches to arrive. Also, making square holes in sheet metal is a huge pain in the ass so I've designed some little enclosure type things to hold my new square switches in circular holes.....also waiting for a new motherboard that will use an Arduino nano rather than a Teensy because MAAAAAN Arduino is a thousand times easier to make a midi controller with (plus they sell them for 8 bucks in my neighbourhood) heres a preview of what thatll look like...
I'm definitely going to add a few things to this board though (I really need to add lights, an Arp and would like to add a delay effect using a cheapo pedal I put together this month) but this will involve adding some multiplexers to this board.... (thankfully I learned all about that last year) ....but you get the picture .....make tiny boards. attach them to one big board using ribbon cable then attach it to the axoloti and booyah. really fun synth time.
the graphic design for the controlboard is going to be genuinely hilarious. I'll save that for when its done, but here's an early (boring) version I did a while back that I will not end up using......(I'm calling this synth SATAN-2...named in party by the juno-6 which this synth will end up being partially modelled after and also a reference to this new, lame, threat of nuclear war time this little guys was designed during)
Ill update this in a couple months when its all done. The graphic design is going to be hilarious and will involve nukes.
oh yeah! the keys are from an M-audio 49 key controller. Its the most basic controller I could find and cost about 70 bucks used. I think it was worth it but I'm convinced I could find the same components somewhere online for much cheaper...time will tell.

