so mine has arrived....thought Id give a bit of feedback 
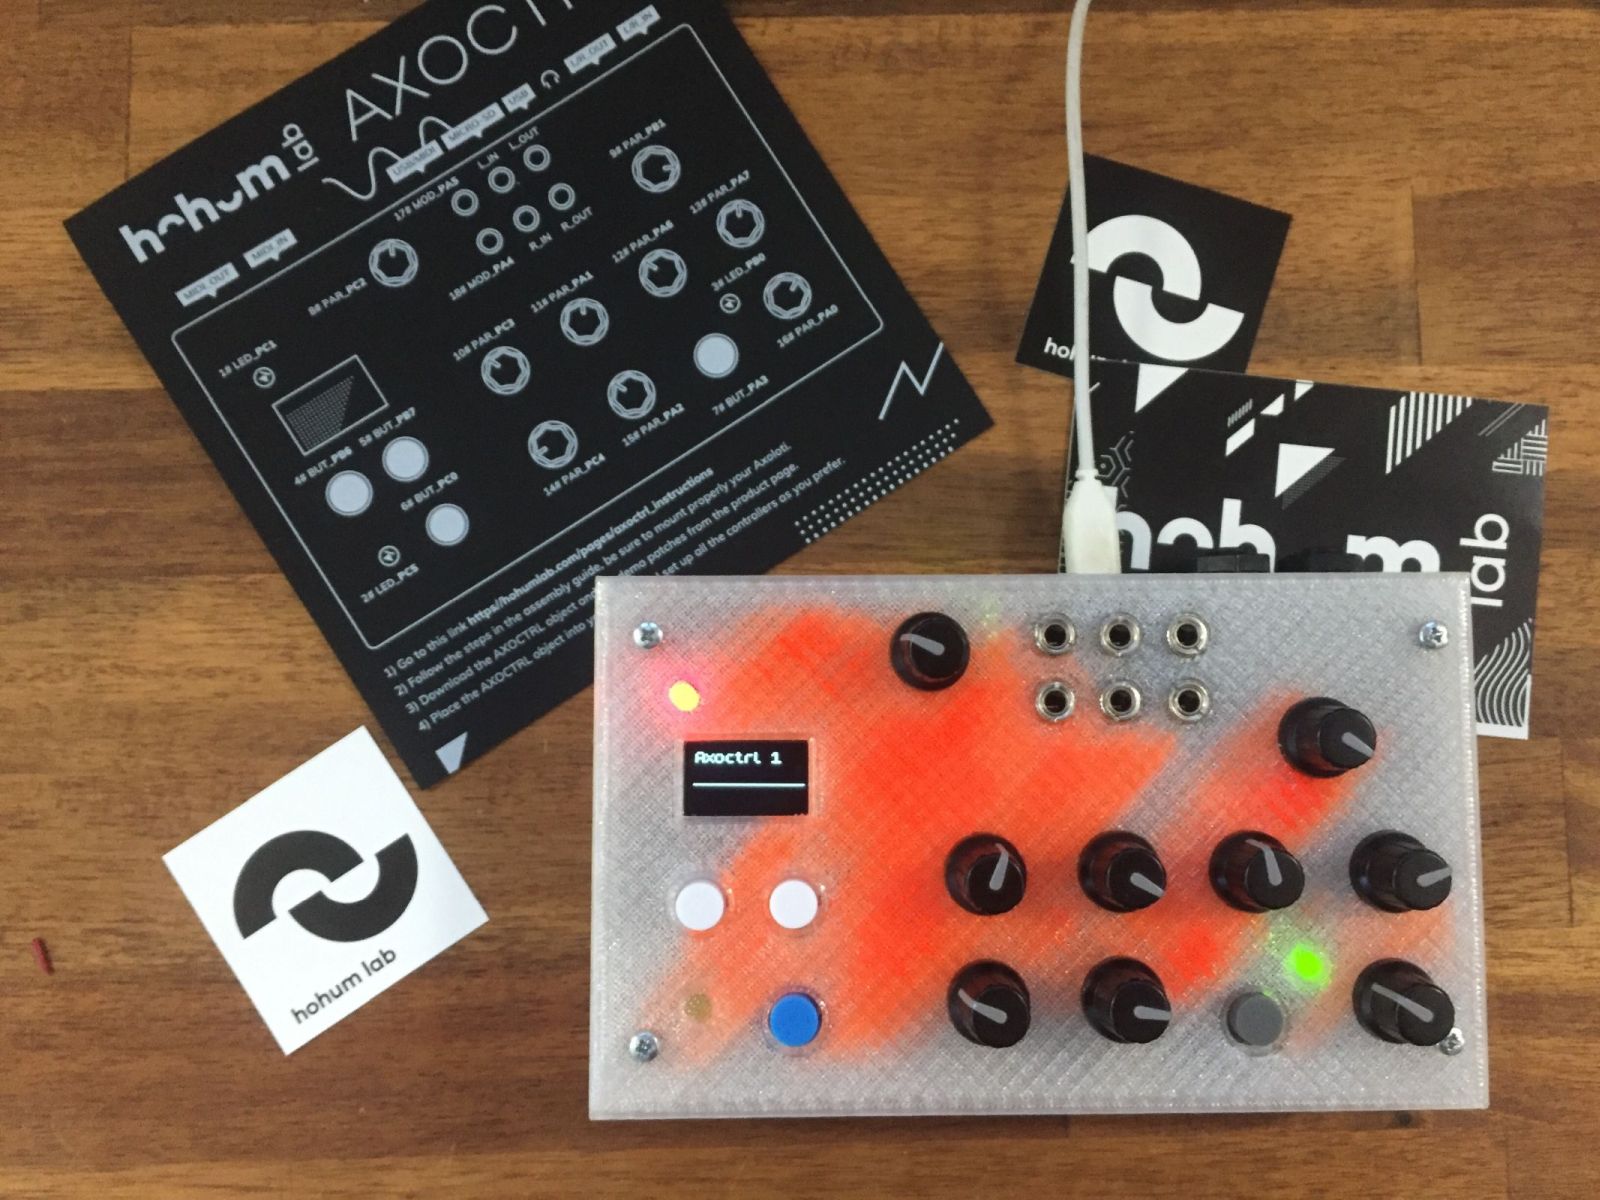
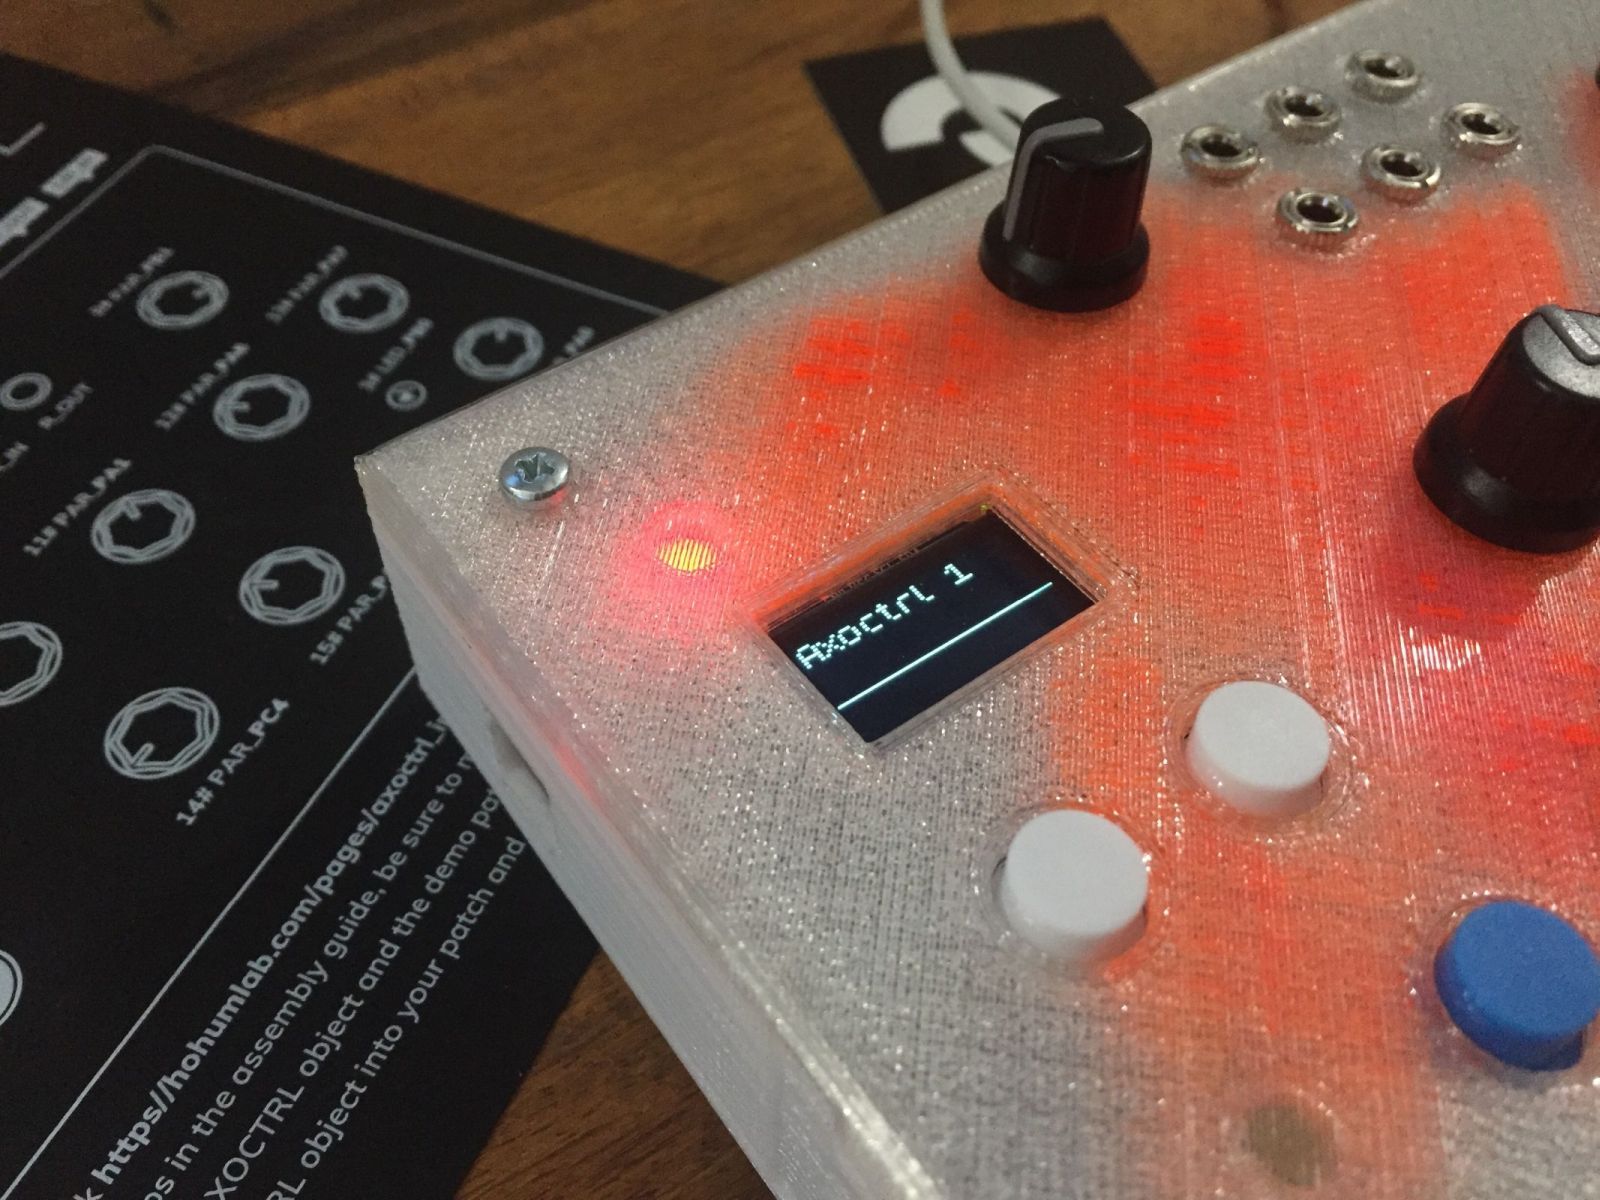
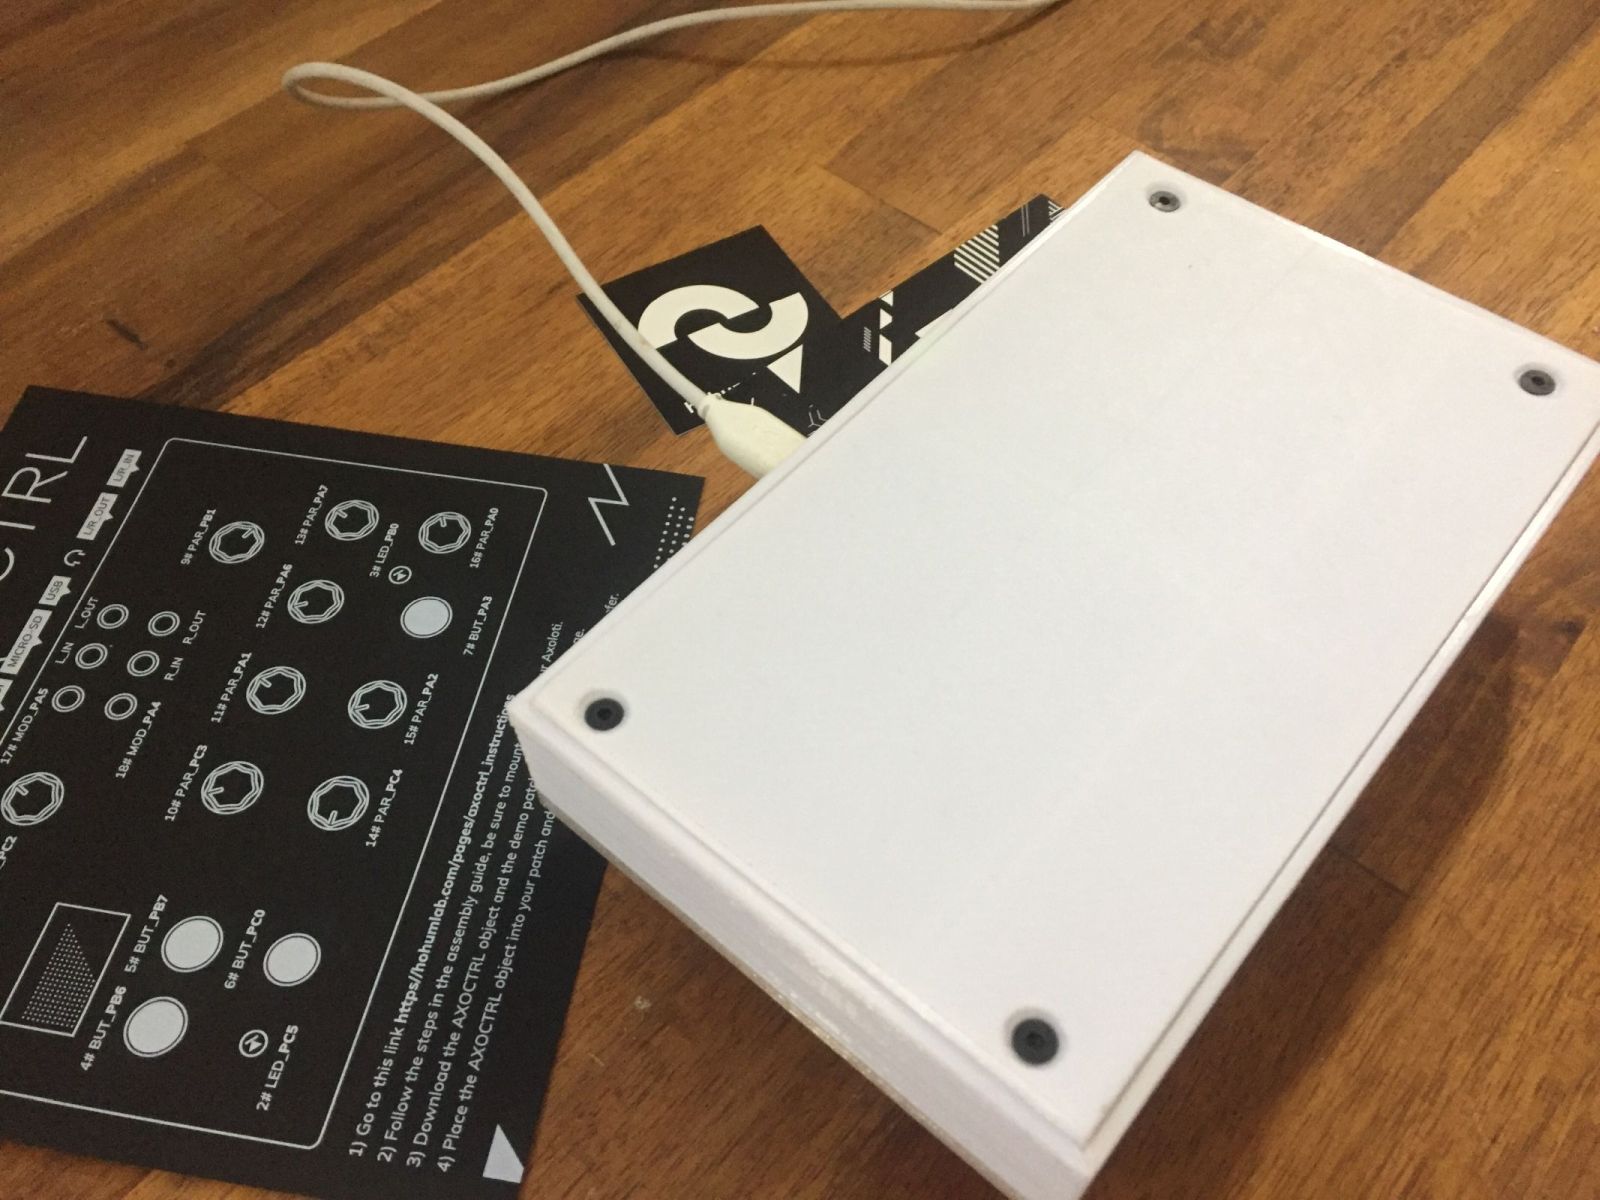
first the money shots!
(it comes with rubber feet, but I've not put on yet, just so I can get inside
)
overall impression
it was packaged well, and I like the little reference card you get, really professional looking.
bit fiddly to assemble (see below), but not hard, anyone can do it.
the pictures don't do it justice (here or hohum website) , it really looks neat, particularly the front panel.
I think pretty good for the price... and a good job for a small outfit.
patches/objects are good to show how to do your own patching (which is kind of the point!) , but I think a couple of better demos patches, would give a better/wow impression when you first turn it on!
audio out did not work, non hohum's fault , its due to me having an earlier axoloti board, see details below...
not an issue as I always 3/4" jacks or headphones anyway.
cool job, look forward to do some patching on it
a few more details...
assembly / finish
the instructions on their website are really good - top job, very clear, easy do to.
it's a bit fiddly to put the axoloti into the enclosure, because the you have to angle the axoloti to the main audio jacks thru, but then you need to be fairly straight to put the header pins in, but a little gentle persuasion and it goes it.
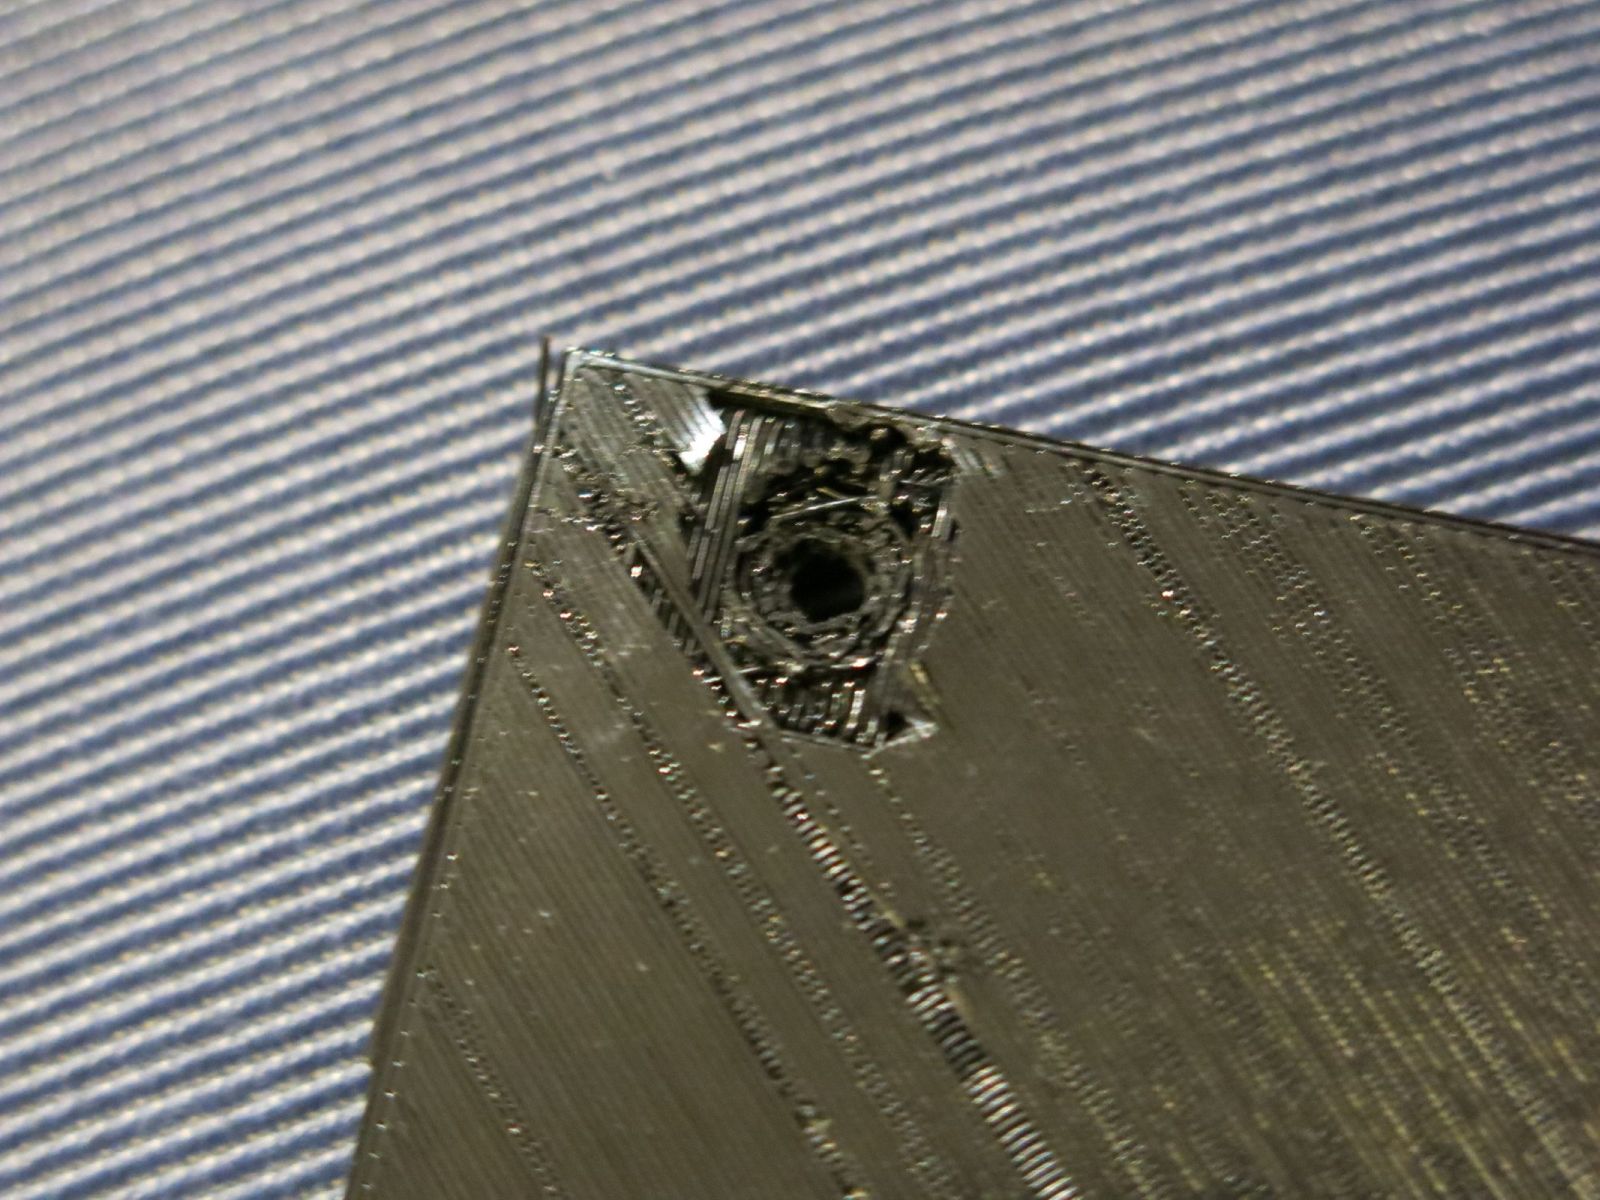
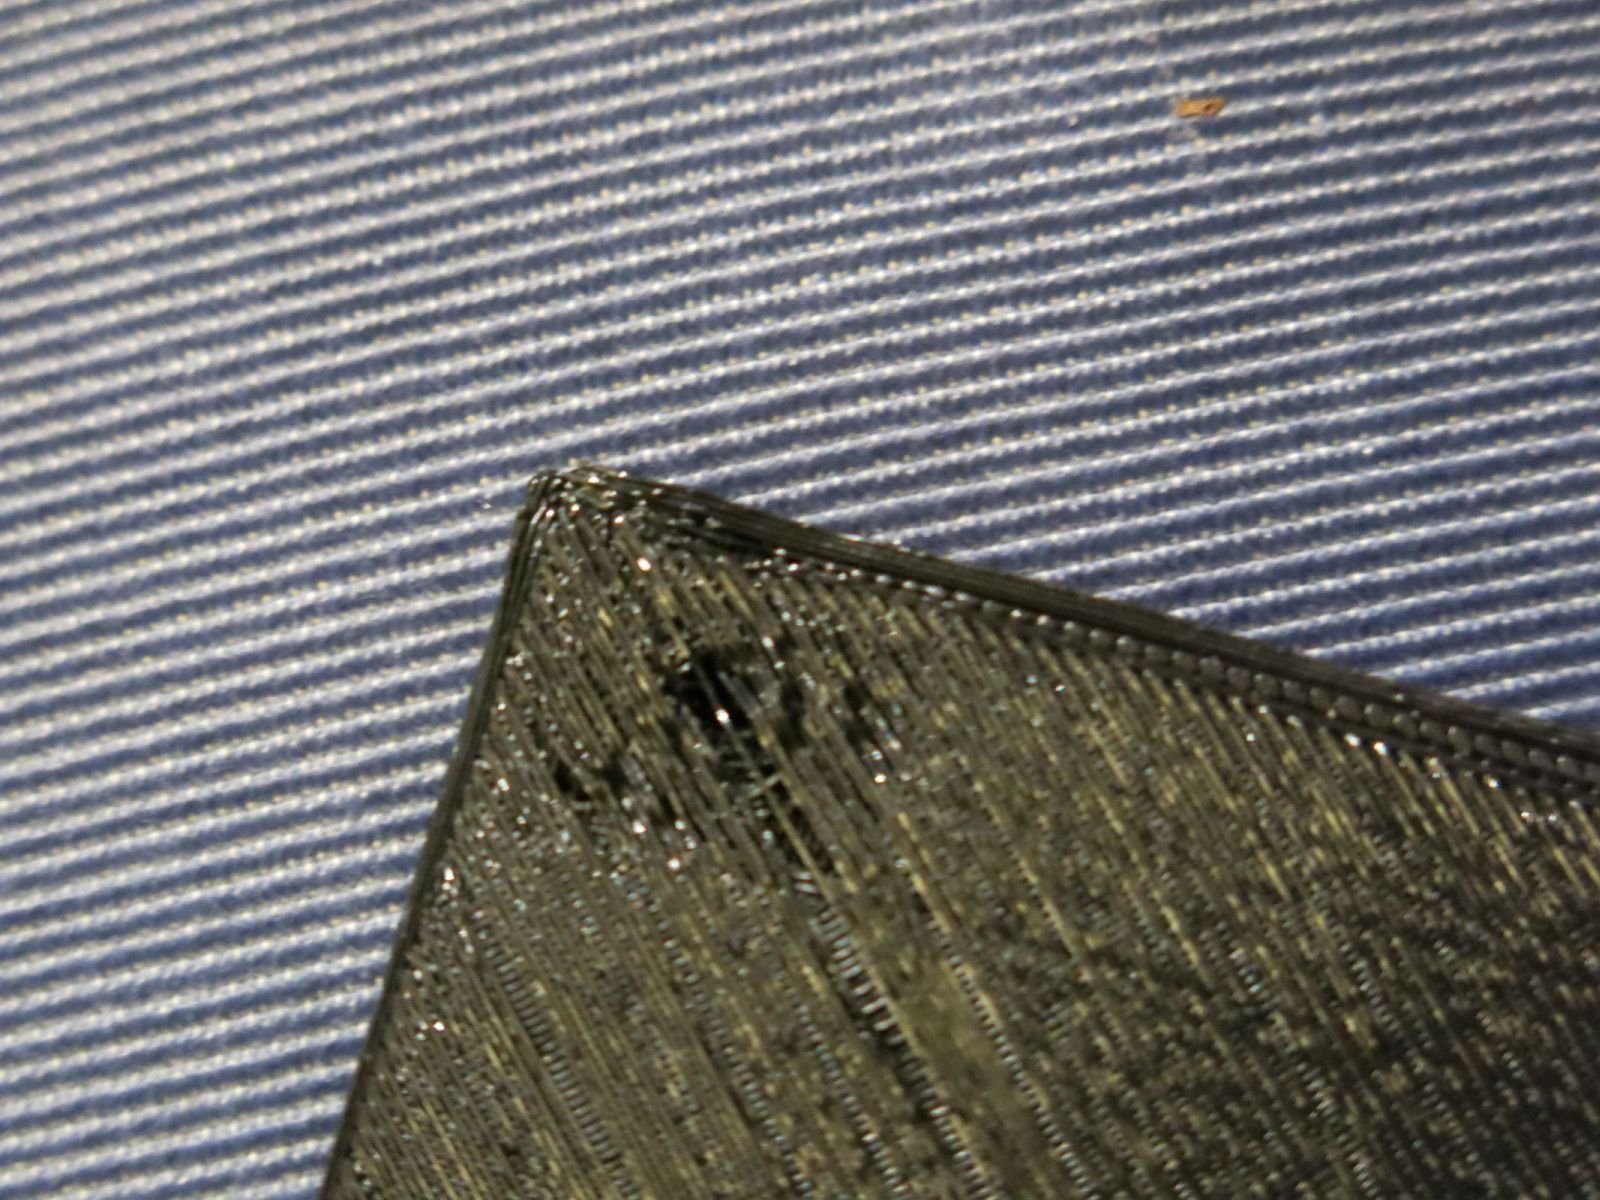
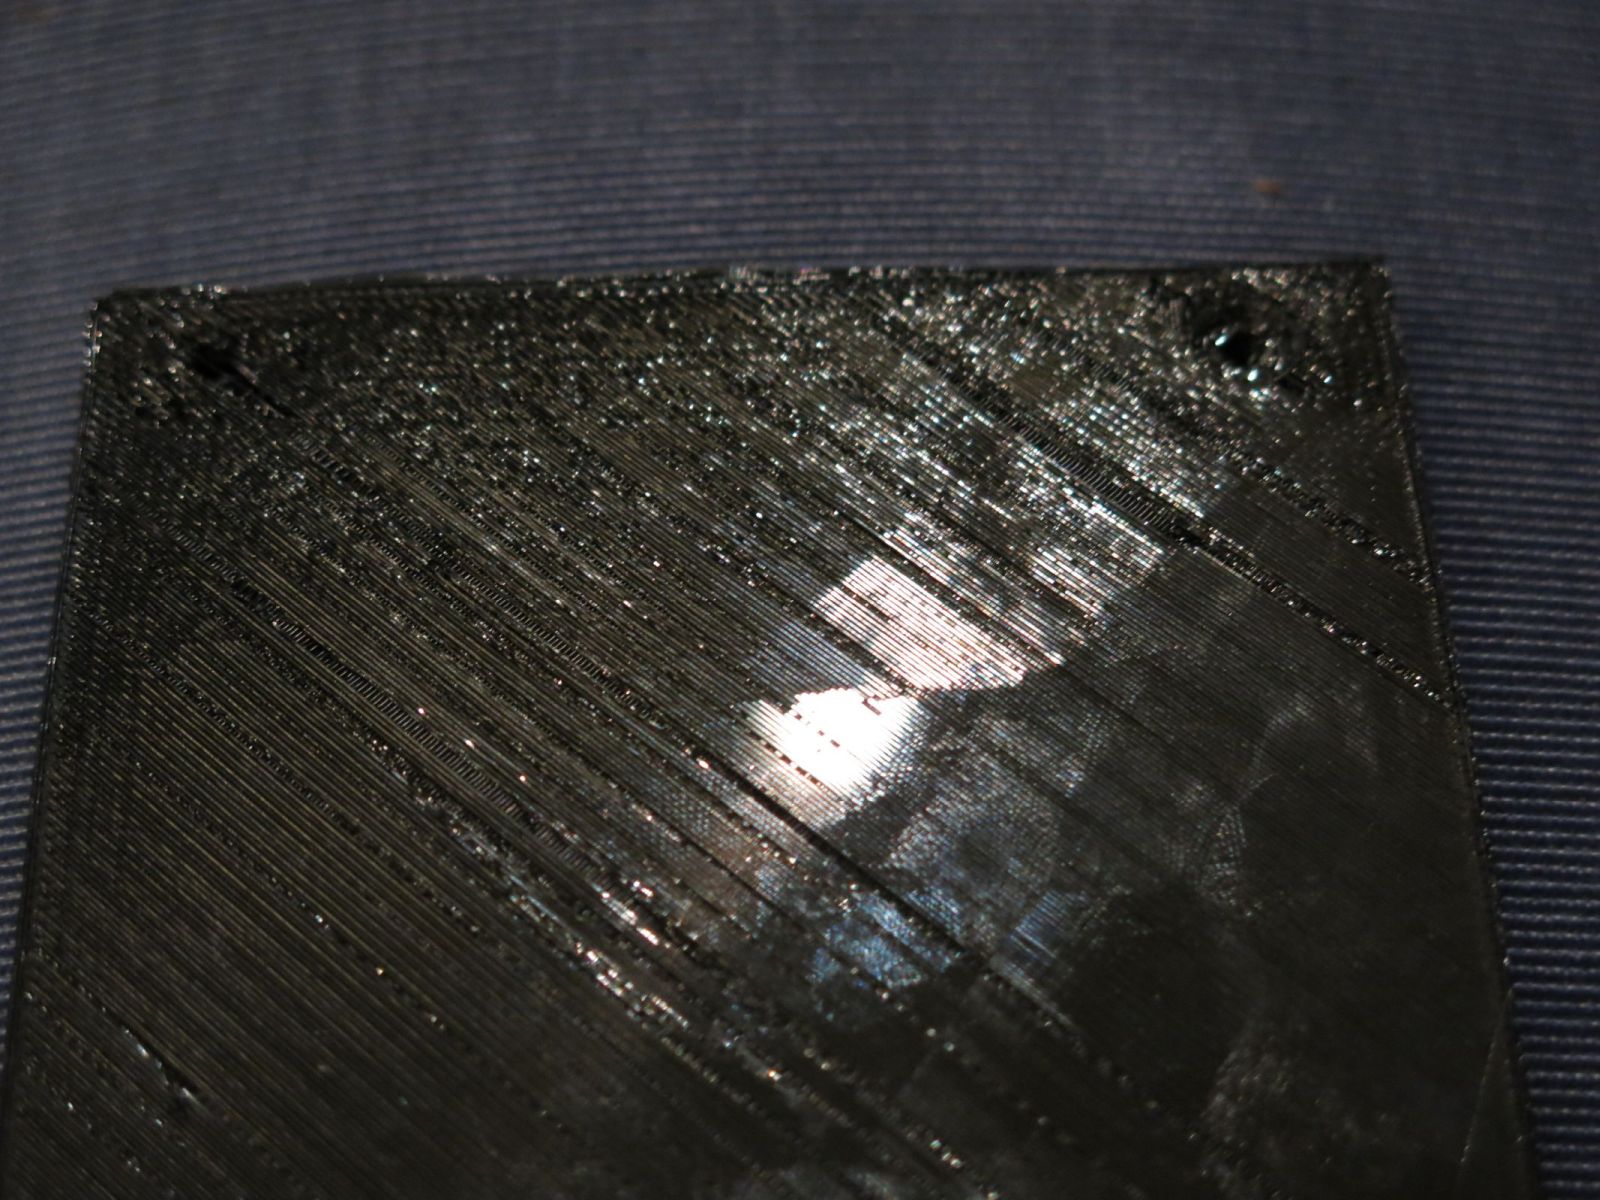
apart from that easy enough... I did file a little bit of excess plastic off the cutouts, but that's to be expected from 3d printing.
generally, Im happily surprised with the finish (Ive had some bad experience with 3d printed stuff in the past)
small issue - axoloti variations!
only 'functional issue' is no audio output on the front jacks... but this is not hohum's fault.
I have to say, I actually expected this when I saw the build instructions, as I think there is a variation on axoloti core boards, I think earlier axoloti boards do not have the audio out on the back...
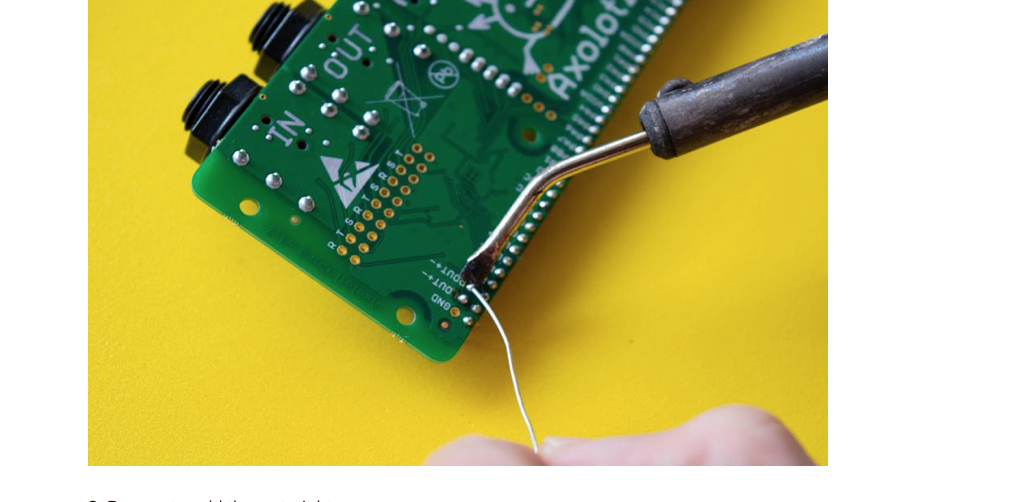
you see those pinouts the rout+- lout+- , those are labelled on any of my axoloti boards
so even though I soldered the pins as detailed, no audio out from the front jacks... (audio in is fine)
I guess I could probably do a small patchier from the RTS pins above, but I was a bit unsure, so left it.
and frankly, I'd alway use 3/4" jacks anyway for input or output, or headphone output.
(but perhaps for others, @Hohum_Gian can advise if a small hack from the RTS out is possible)
provided patches/objects
I used the GitHub repo, and that caused me confused, as the current checkin does do anything unless you patch the OUT to the IN on the main patch... and the ones on the website as a download, have a bug in them.
... its a pity, as its kind of prevents the turn on , and wow factor that it could be!
but frankly, this is a minor gripe, as the point of this (and axoloti generally) is to create your own patches, and the provided patches are pretty good at showing how you might go about that.
probably more experienced patchers will just jump into the examples, to get details they need, but build from the ground up... well thats what I'll do 
other thoughts.
there's quite a bit of space inside, I reckon, I could fit a small rechargeable battery, and/or a small speaker in there.
anyway I'm pleased with my purchase, and look forward to using it more!
note: I do feel sorry for @BrianA , as his obviously had issues, but this seems like an unfortunate incident, as mine is fine - I hope they can resolve it between themselves, and Im sure Hohum will be more careful checking things before they go out in the future.

 we've been quite busy in the last months but we're getting back in track! We will add a "contributor request" on the new website so developers can submit their interest and ask for a testing board. Thanks for the suggestion.