What I would really like is a metallic enclosure : robust and shielded (immune to electromagnetic interferences).
Something much like the beloved Clavia micro modular. Something reliable enough to be used on stage as a synth or effect with prepared custom patches you can trigger during the course of a concert.
Hohum contributions
Yeah, Micro Modular is really robust.
I dropped it from stage several times and it still worked flawlessly 
Basically build like a tank 
there have been some enclosures in that direction in the axoloti enclosure thread. (including mine). the easiest way is to use a hammond aluminium case, you can easily cut/saw/drill it and it has good shielding properties.
Maybe, in the near future i will have access to some drilling tools... so, that's an option i can consider seriously now 
I think that a metal enclosure with 5 push buttons, 4 encoders (endless pots) and a 2"42 display (it can display the 4 encoders values + oscilloscope) would be a great standard for "stage axoloti".
This is not how you respond to a customer. especially at your current price point.
Just because a customer is voicing their compliants on a forum does not give you the right to respond to them in that way. I understand both sides of this and it can probably be settled in private but he has a right to post pictures of the quality of your product.
That isn’t shitposting. It’s very useful information.
so mine has arrived....thought Id give a bit of feedback 
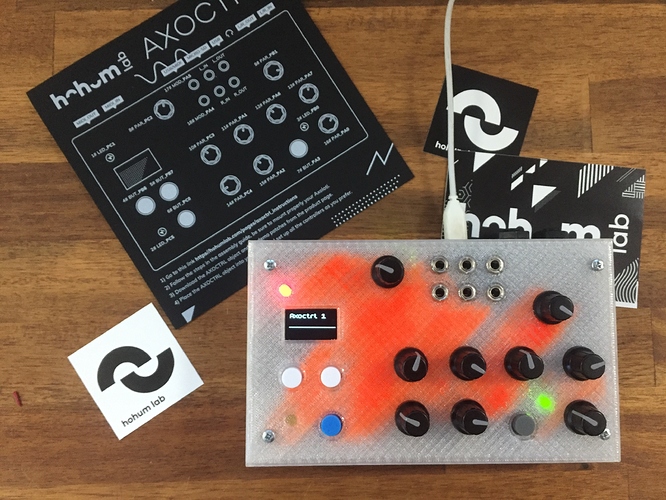
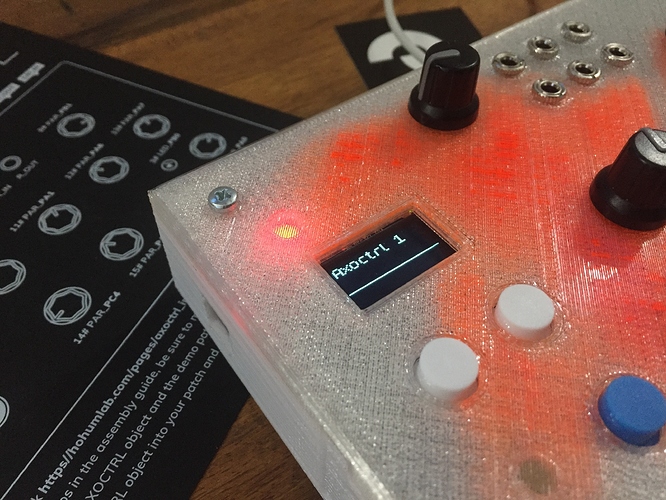
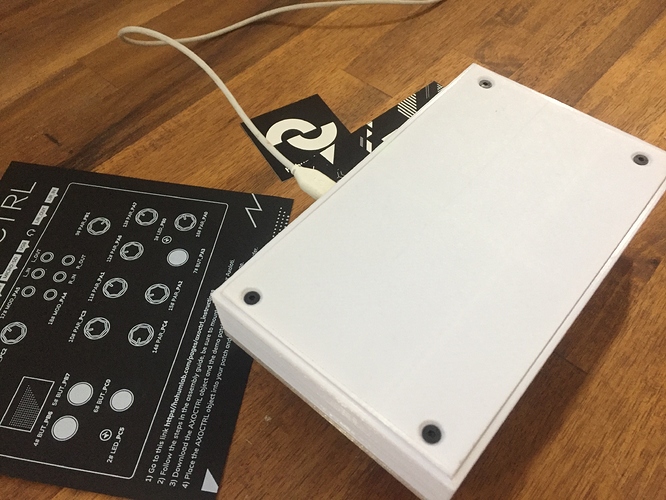
first the money shots!
(it comes with rubber feet, but I've not put on yet, just so I can get inside
 )
)
overall impression
it was packaged well, and I like the little reference card you get, really professional looking.
bit fiddly to assemble (see below), but not hard, anyone can do it.
the pictures don't do it justice (here or hohum website) , it really looks neat, particularly the front panel.
I think pretty good for the price... and a good job for a small outfit.
patches/objects are good to show how to do your own patching (which is kind of the point!) , but I think a couple of better demos patches, would give a better/wow impression when you first turn it on!
audio out did not work, non hohum's fault , its due to me having an earlier axoloti board, see details below...
not an issue as I always 3/4" jacks or headphones anyway.
cool job, look forward to do some patching on it 
a few more details...
assembly / finish
the instructions on their website are really good - top job, very clear, easy do to.
it's a bit fiddly to put the axoloti into the enclosure, because the you have to angle the axoloti to the main audio jacks thru, but then you need to be fairly straight to put the header pins in, but a little gentle persuasion and it goes it.
apart from that easy enough... I did file a little bit of excess plastic off the cutouts, but that's to be expected from 3d printing.
generally, Im happily surprised with the finish (Ive had some bad experience with 3d printed stuff in the past)
small issue - axoloti variations!
only 'functional issue' is no audio output on the front jacks... but this is not hohum's fault.
I have to say, I actually expected this when I saw the build instructions, as I think there is a variation on axoloti core boards, I think earlier axoloti boards do not have the audio out on the back...
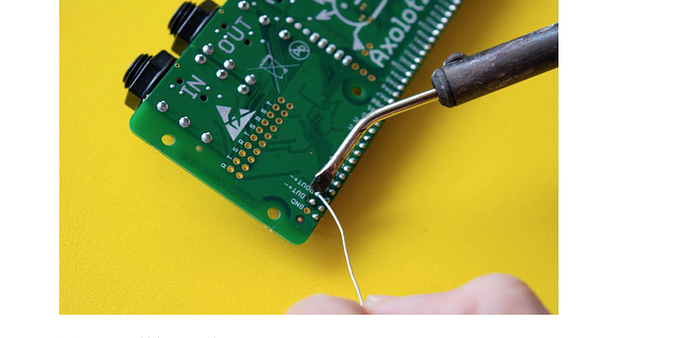
you see those pinouts the rout+- lout+- , those are labelled on any of my axoloti boards 
so even though I soldered the pins as detailed, no audio out from the front jacks... (audio in is fine)
I guess I could probably do a small patchier from the RTS pins above, but I was a bit unsure, so left it.
and frankly, I'd alway use 3/4" jacks anyway for input or output, or headphone output.
(but perhaps for others, @Hohum_Gian can advise if a small hack from the RTS out is possible)
provided patches/objects
I used the GitHub repo, and that caused me confused, as the current checkin does do anything unless you patch the OUT to the IN on the main patch... and the ones on the website as a download, have a bug in them.
... its a pity, as its kind of prevents the turn on , and wow factor that it could be!
but frankly, this is a minor gripe, as the point of this (and axoloti generally) is to create your own patches, and the provided patches are pretty good at showing how you might go about that.
probably more experienced patchers will just jump into the examples, to get details they need, but build from the ground up... well thats what I'll do 
other thoughts.
there's quite a bit of space inside, I reckon, I could fit a small rechargeable battery, and/or a small speaker in there.
anyway I'm pleased with my purchase, and look forward to using it more!
note: I do feel sorry for @BrianA , as his obviously had issues, but this seems like an unfortunate incident, as mine is fine - I hope they can resolve it between themselves, and Im sure Hohum will be more careful checking things before they go out in the future.
FS EU : Axoloti
I guess I should have ordered the white one. Yours is SO much better than mine it's hard to believe. Happy for you!
Hmm not sure I understand this. You mean these ones, that I made an arrow pointing to them does not work when using the Hohum enclosure?
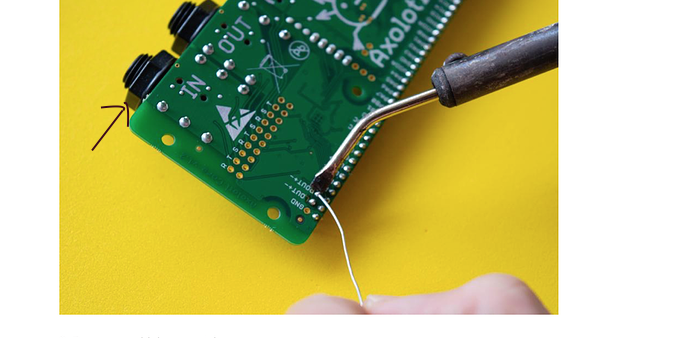
no - the hohum enclosure breaks out the audio in and out on to the front panel on 3.5mm jacks.
the outputs don't work for me, as the axoloti boards I have don't have the out+- (*) that you can see in the above picture (where soldering iron is)
the jacks on the axoloti still work fine, which as I said, is why its no issue for me, as I use 1/4" jacks in preference to 3.5mm anyway... so I'd never use the front panel jacks 
(*) this is why I said its not really hohums fault, its obviously something that's been changed on later axo boards... and not something I knew about either, so im sure they just had newer boards, and assumed it was the same for all axo boards.
Thanks, just wanted to make sure I understood it correctly. I am fine with using the 1/4 Jacks
Agree with this, I just got mine and having never soldered anything before it was a bit nerve racking putting it together. I got it all working though (thanks to Youtube soldering tutorials) and it would have been nice to have my efforts rewarded with a patch that used all the controls that I could just plug in and play (and also deconstruct when building my own). I think HoHum have missed a trick in that respect.
If anyone else also has this and has any patches they are willing to share that would be gratefully received here, I'm particularly interested in getting the oscilloscope working on the OLED
Hi there!
I just bought one of the diy kits for Axoctrl from @Hohum_Gian, and i was wondering if there is a case design available for printing, i do own a 3d printer and i will be desiging it myself and publishing if it's not possible to get the OG model, but it would be a huge timesaver for me an maybe it would push other users to buying the unit.
Thanks in advance,
Cheers,

