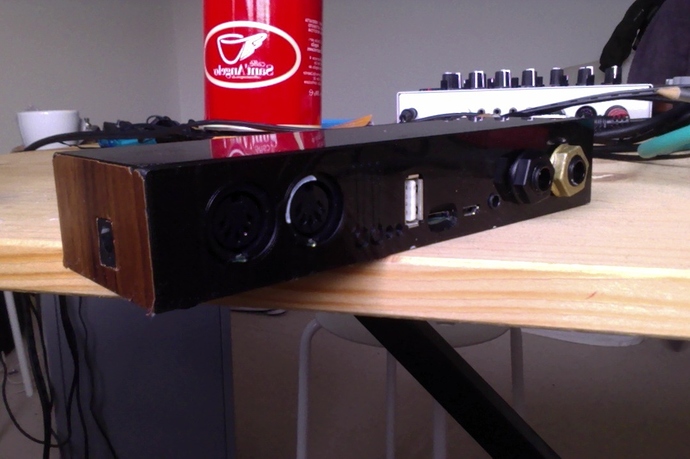
+1 for @Jens_Groh design. painted the audio in nut gold and added some wood grain tape for the vintage wibes
Anyone planning to make and sell an enclosure?
Hi @aton, your desing seems to be down. Could you upload those files once again? Thanks a lot!
i would like to make one of these but the files are gone... can anyone re-upload them please? help a noob out haha
@Toon, @alien_brain Hi, sorry for late reply. I really hate situation when I am looking for something in the web and then it ends up broken link. So I promise myself never be a guy who is posting broken links.
I upload my initial design on dropbox.
https://www.dropbox.com/s/8frtj89d2amr8f4/axi1.svg?dl=0
Have fun.
Has somebody a pdf or doc with the cutout dimensions?
I'd like to design a "clavia-like" red 1U rack panel for this 
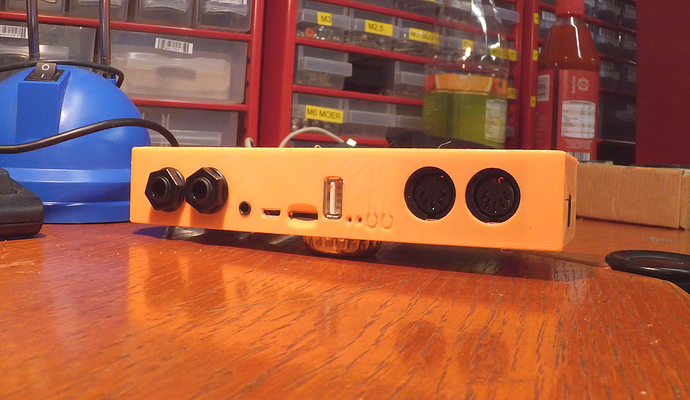
Any one wanting to make Atons design if you decide to not fix the bug on the SVg file but by trimming the actual case
Take note! Make sure you trim the outside edge of the case not the inside. To clarify make sure that the cuts you make will seat the axoloti core 1mm forward. This will insure proper alignment for mounting holes.
Thinking about it I suppose this goes for adjusting the svg file as well.
thanks for the tip alex. . ive used formulor before but their uploader wouldnt recognise any of these files. downloading AI now. any tips on what format to output and which colors to use? otherwise ill just fumble around illustrator for a bit.. thanks in advance.
Im pretty sure Formulor recognise the SVG files, as I used them for a quote...
In the end I used @janvantomme designed, which I adapted to 3mm for all faces, and ordered from Razorlabs (UK) again with SVG files... they all seem to be partners with Ponoko.
they should be here at the weekend 
for some reason it didnt work, but i took up alexk's tip and put it into illustrator.. followed the guidelines here http://www.formulor.de/classic_en/illustrator.html and it seemed to work.. lets see when i get it in the mail next week 
@wishniak I will also order from formulor. I will be pretty glad if you could let me know the result and share the files that you edited.
sure - heres an SVG. its including the front plate and i removed all text except for in + out above midi + audio. . no guarantees that i did it right - if you want to wait a few days i can tell you how it turned out. 
https://www.dropbox.com/s/rw0syrvm61a86a1/axoloti-case-v1.0.1_form.svg?dl=0
for example i just read in the instruction that the frontplate should be 2 mm, not 3mm.. blah.. not sure if that will make a big difference. .
If you use a 3mm frontplate, some of the connections like the micro-usb port will be hard to reach.
1.5mm should be even better, but that's not a standard thickness for acrylic plates.
thanks to @janvantomme ... Ive finally got my enclosures sorted out 
its a really nice design, and with patience and a steady hand easy to assemble.
I got Razorlab (UK) to cut them, used a 3mm acrylic at the front, Id say its fine, but makes the SD card a little tricky, but I just leave one in all of mine.
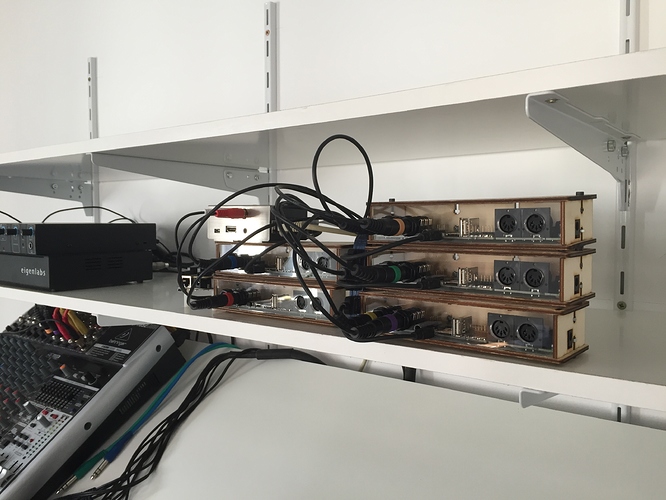
so here is my 'tiny' digital modular (its about 40x15x10cm )
Axolotis , PI 2 with HiFI berry DAC, BeagleBone Black + Audio Cape ... currently connected to a powered hub.
(Im going to replace the audio cape with Bela when released, and 1 more BBB + Bela)
need to do a bit of tidying up, slightly longer USB cables, then I plan to fit the enclosures in some kind of 'rack',
might change the BBB and PI to have matching cases too 
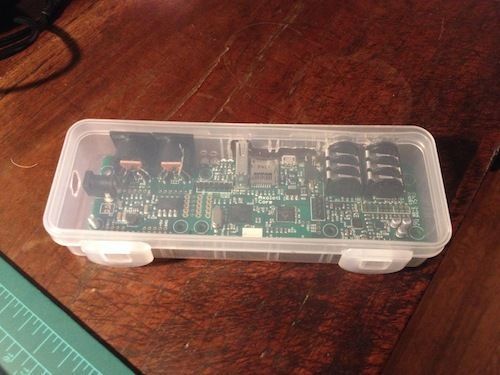
I found a little organizing box at a nearby japanese household goods shop that happened to be exactly the right size. with a drill and exacto knife, I cut out clearances for the connections I needed.
Total cost: $1.49 US


