Is there an easy way to extend S1,S2, LED1 and LED2 to the outside? I want to put the core+axocontrol into a case and want to have all connections at the outside. I understand, I can separate the MIDI part and connect the 5 wires directly. Also TSR IN and OUT connections can be done. I've already got Micro and standard USB extender with panel mount and a micros SD card extender as well. To be happe, I just need the switches and LEds to be on the panel. Any ideas?
Extending the switches (S1 and S2) and LEDs to the outside Panel mount)
I asked a similar question some time ago about the LED's and I believe the same answer will apply to the switches.
The only way is to delicately solder into the components connection on the circuit board.
If your eyes are better than mine, then you'll probably have no trouble.. !
I have already done some testing on the LED's, there is very little current available to drive larger LED's unless you use it on a switching transistor or something.
I expect S1 and S2 would be easier as it could be directly connected to a switch.

My eyes are actually quite bad, but I'm using a magnifying glass/lamp for soldering. And yes, a switching trans would come handy. And I feared about the switches too. They are so tiny, I can even touch them (have to use some small tool to press them). Thanks anyway, I'll give my best.
I think, the switches can be easily desoldered, but for the LEDs I have a different idea: I'll install 2 light pipes, which bring the light up to the panel. I've tested them and the light is bright enough.
I thought of doing that too, but wasn't sure what size to get, there are so many smd led's of different sizes. So I managed to come up with a no cost option that i am still perfecting, idea is a mirror like tube for the light to bounce to the end in, then captured at the end by a peice of clear plastic which I frosted up with sand paper to better capture the light. 
Exactly, what I'm doing now. Here in Japan you can buy lightpipe by the meter. I just need to position one end neer the LED with glue, bend the pipe by 90 degrees and fix it in a hole in the panel (with glue too). The pipe is 100% reflective.
I have made a panel with Axoloti jacks and such facing forward. I am uninterested in using a small stick to access s1 and s2. What is that small push button called that would sit between panel and switch?
I added some wire to add 2 push buttons to extend s1 and s2. Which pushbutton to you refer to? There is (AFAIK) nothing between panel and switch.
All I am looking for is something like an old calculator button. A piece of plastic, preferably a cylinder, that one's finger could push on one side of the panel, and on the other side of the panel it would press up against the switch thereby activating it. What is that little ding dangety thing called?
This would be a push button. But it won't work that way. You have either to add 2 new push buttons with cables in parallel to the existing ones (actually quite easy to do, if you have solder skills)or disregard the switches (which are seldom used).
@DragonSF, can you show us a picture of what you did ?
For me its an eyesight thing, just can't get a small clean enough soldering on the switches, have tried multiple times even with 2 magnifying glasses..
Here you are: photos of the top side with switch cables soldered, photos from the bottom side, where the switches are attached and some pictures of the posts for MIDI and AUDIO..
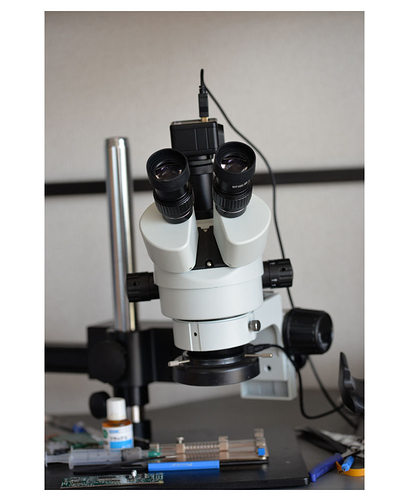
For very small soldering(SMD), I'm using a microsscope. You can also use dentists loupe like this https://www.aliexpress.com/snapshot/0.html?orderId=85445965868275&productId=32622779860
Excellent, like how you used the perf on the Axo, helps reduce the risk of coming loose.
Maybe I should get myself a cheap telescope.. !! 
When I saw the prototyping-area the usage as link area immediately came to mind.
And no, telescopes are useless, unless your arms are longer than 1m.

