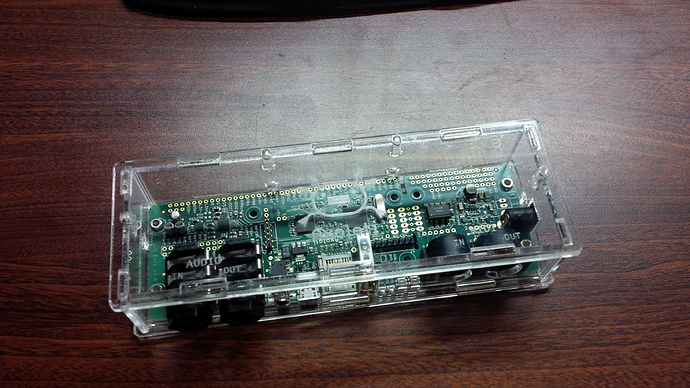
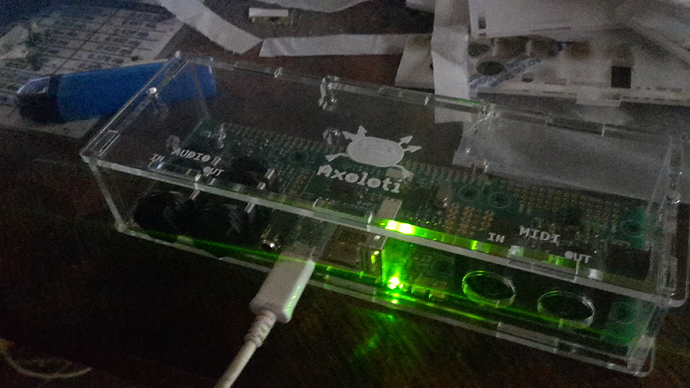
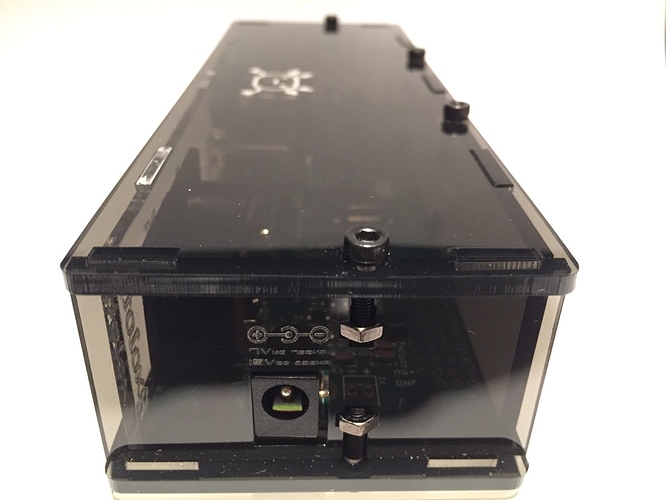
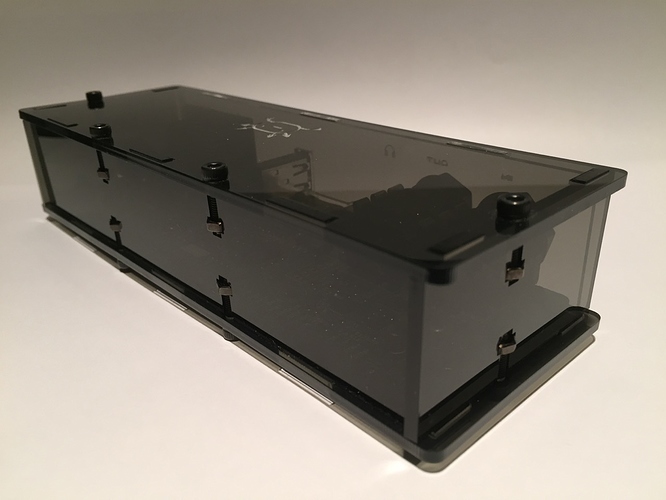
Anyone planning to make and sell an enclosure?


#83

@urbanspaceman , looks nice, but that is very expensive.

I was thinking of something like this:

However, the connector on the side could be an issue with this design. The removable top plate is also useful , and it would be easy to drill some holes in there for some extra knob and buttons


#84

this are very very beutifull, how can i find?
We can think of having one box of these for the core and from the opposite side have a connector that carries out all gpio connections, in this way each user can have a second nterchangeable box with pot, buttons, leds etc ...


#85

Yank the DC connector on the side of the board, and solder a panel-mount DC socket on wires.
Farnell #1549975, only need a custom faceplate eg. from www.frontpanelexpress.com

Hard to find a connector with this many circuits that is still compact and DIY-compatible. A DB-25 sub-D connector would be a bit bulky, no?


#86

I like those @alex, as the look stackable.

@johannes, they look really good... not cheap, but would be cool...
you have to use their software... so a matter of getting all the dimension correct...

Q.. what is the correct way to fix the board in an enclosure... I don't want mounting screws on the base, would reduce the stacking ability... unless you use thicker material and countersunk the screws. also the board has to be raised off the base.
(I've used pcb mounts but this would need screws in the base)

as an aside, I've also been wondering if I could build an enclose that was more like a rack system, i.e. they some how would 'hang' onto rails , and then a front panel would be attached to the connector side of the board... a bit like a eurorack... so you could add more axoloti boards as you need more voices / fx etc smile
but to do this, I need to work out
- how to fix the facia to the board (front holes I assume)
- a way to hang the board onto some kind of rails, again I assume using the pcb holes, I guess I could slide them onto a 4 bars, and just have spacers to keep them separated correctly. is it ok, to use metal bars, or do they need to be non conductive?
(its just an idea, and sort of how I've done it in the axo cube)

#87

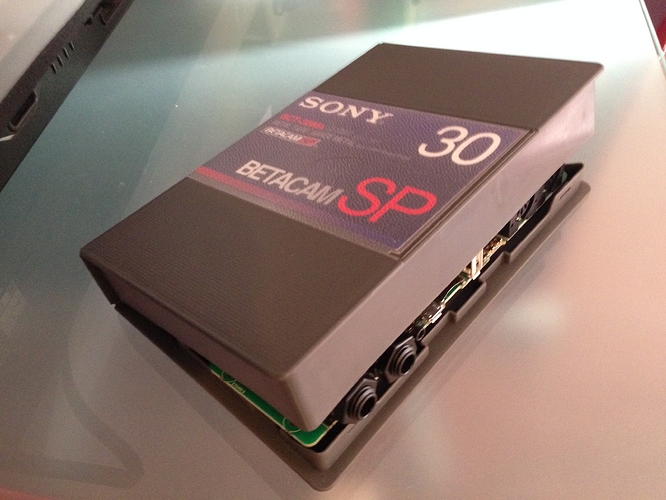
mounting in a housing:

  • If you do a full enclosure with frontpanelexpress/schaeffer-ag, they can manufacture press-fit standoffs into a cavity.
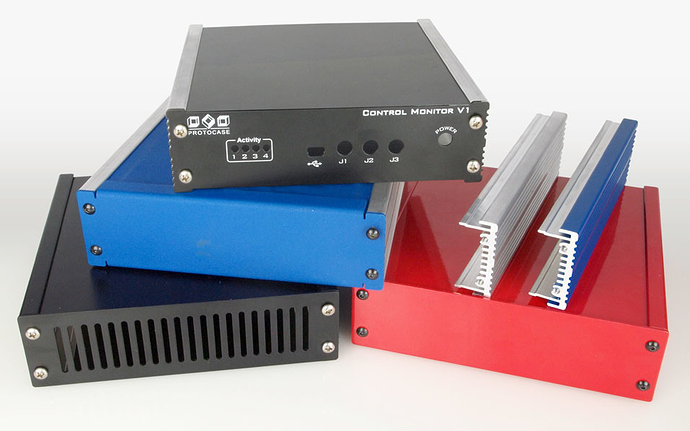
  • Farnell #1549975 has grooves to support a pcb of 160mm wide on the sides. No standoffs needed.

The 3mm diameter mounting holes have a 8mm diameter clearance, free of copper on the outside layers. That's enough for normal M3 screw, spacers, standoffs, nuts...

For panel mounting, a more fancy bent sheet metal bracket is needed.


#88

Hard to find a connector with this many circuits that is still compact
and DIY-compatible. A DB-25 sub-D connector would be a bit bulky, no?

I use Centronics 50 SCSI connectors for this sort of thing occasionally, they're not really that bulky and are a bit more sturdy and easy to work with than DB25.

EDIT: the stock cables are expensive and bulky, though. It's not too bad to wire up your own though.


#89

Hey @janvantomme,

Thanks a million for making the plans available. I cut an enclosure today on my laser for my Axoloti. I appreciate the plans you made - it saved me a ton of time.

Cheers,
Mark.


#90

THX ALOT OF THE FILES !!!!!!!!
it finally got a home and its a LOVELY home smile


#91

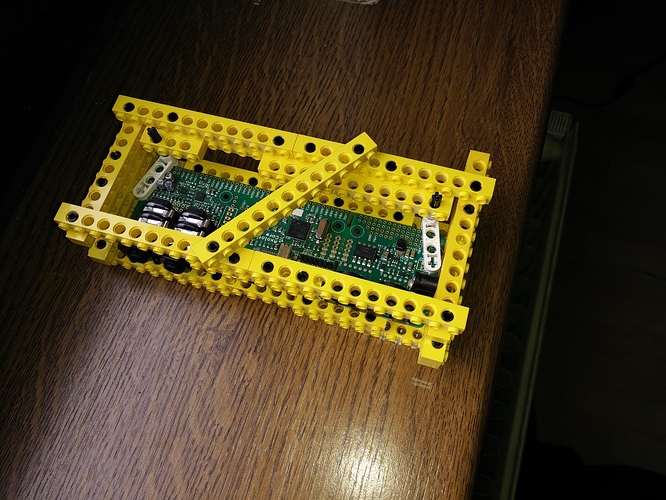
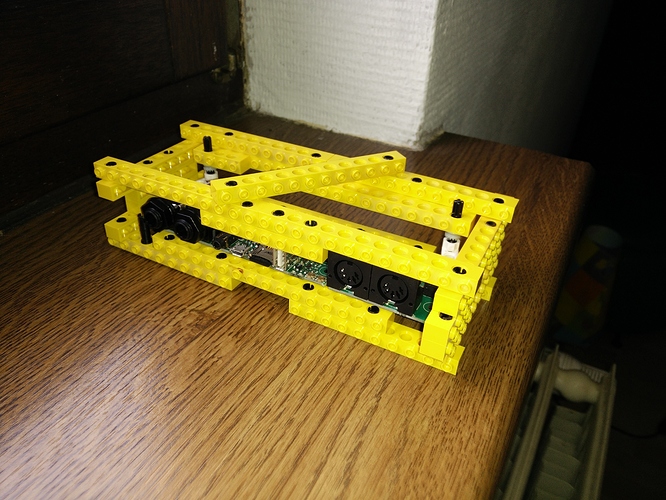
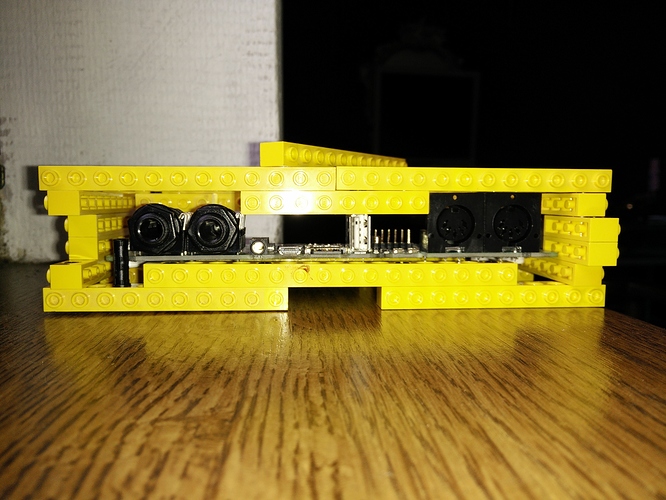
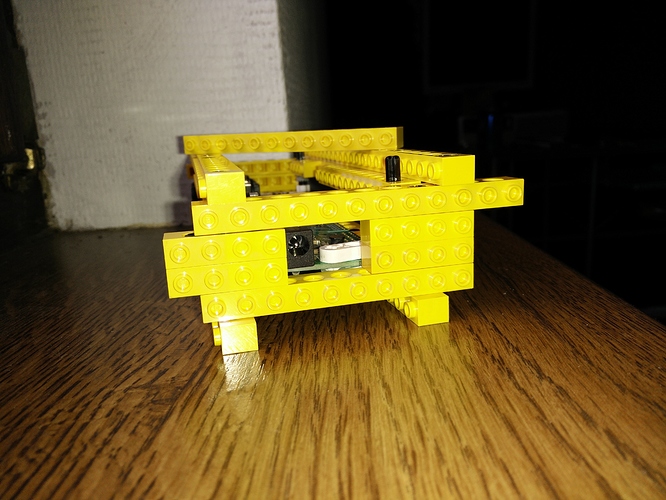
I just made an enclosure with Lego technic. It's not a perfect fit but the board doesn't move an inch.


#92


#93

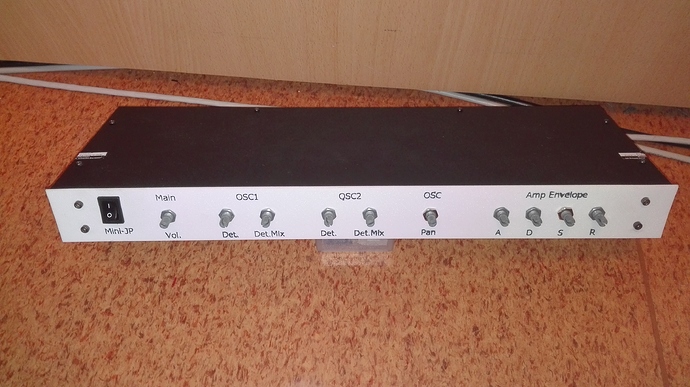
i simply modded one of my empty 19" enclosures with a new 3D printed front, here's what i currently have.

the enclosure i had also has a small transformer in it, capable of dual 15VAC, 300mA (hopefully enough juice to power one axoloti when rectified to dc voltage!)


#94

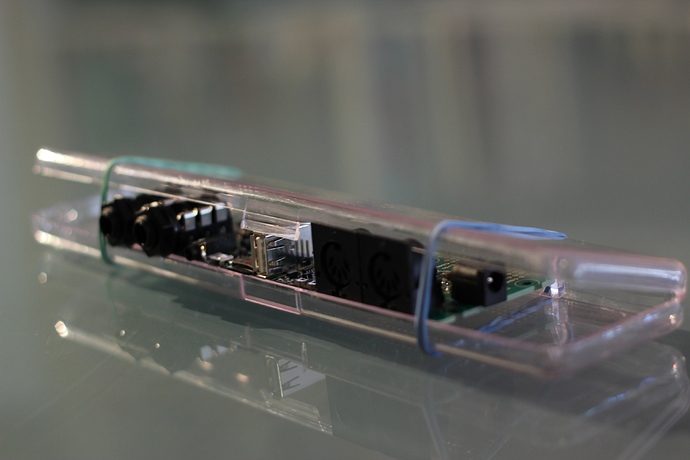
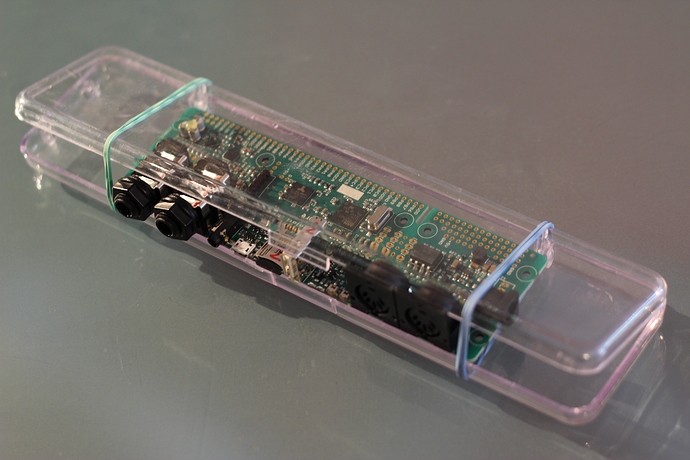
2 seconds case (watch case, although only have one, rubber bands give anti-slip


#95

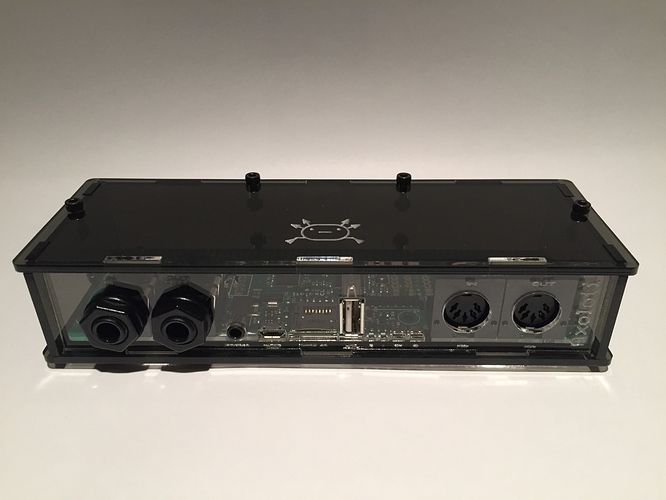
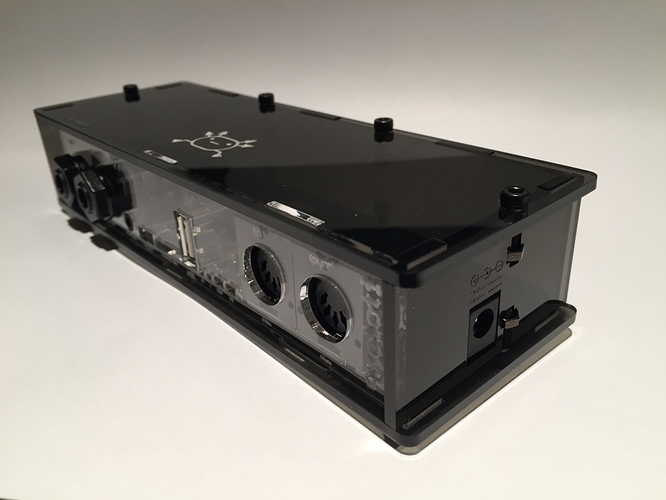
I used the templates that janvantomme provided to produce an enclosure for my Axoloti. I added some different labeling and changed up the branding. I really liked the way it turned out. Thanks so much janvantomme for the files you provided.

I had the room to make a couple of extra enclosures when I placed my order. I purchased enough hex bolts and nuts to make a couple of ready to assemble enclosure kits. You can buy them now on Ebay!

Enclosure for Axoloti Core - Ready to Assemble (1 of 2)
Enclosure for Axoloti Core - Ready to Assemble (2 of 2) (Cheaper international shipping on this one!)


#96

I'd like to bid, but $47 for USPS international mail is a deal breaker. Shame.


#97

I wish you were in Europe , postage cost is quite expensive :frowning:


#98

Sorry about the shipping cost. I don't usually sell international but thought there might be some interest in this case. I'll look at the shipping and see if I can choose a cheaper option to make available. Thanks for the heads up.


#99

Item (1 of 2) already has a bid on it, so I was unable to adjust the international shipping. I was able to adjust it on item (2 of 2). I lowered international shipping from USPS Priority to USPS First Class on that one item. I hope it makes the shipping costs more tolerable. Thanks again for the feedback.


#100

i'm very busy on my enclosure, this is my rear panel
any suggestion on something to be added in the front panel?
maybe 2 LEDs and 2 buttons? maybe nothing?
I would also add a connector with 40 pins to bring out the connections ...
or make an opening and allow the cables to (as I have seen in a photo above)
any suggestions?


#101

Fits just nicely, stackable, might be one more solution.


#102

Any progress or result of your enclosure. ?