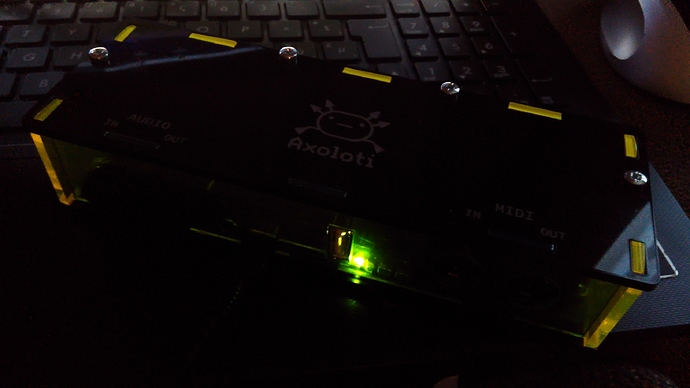
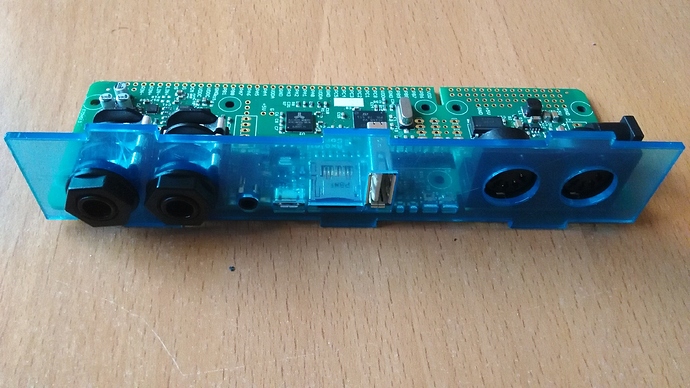
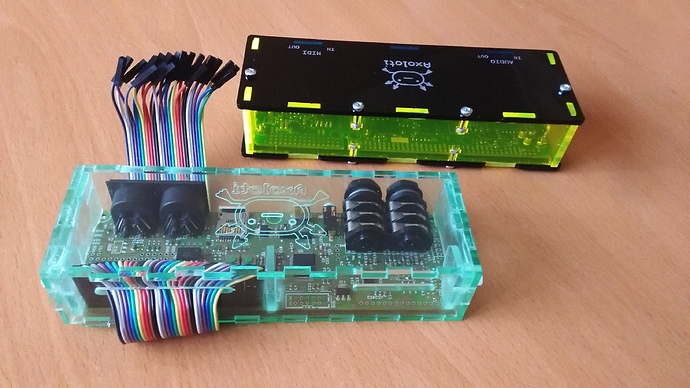
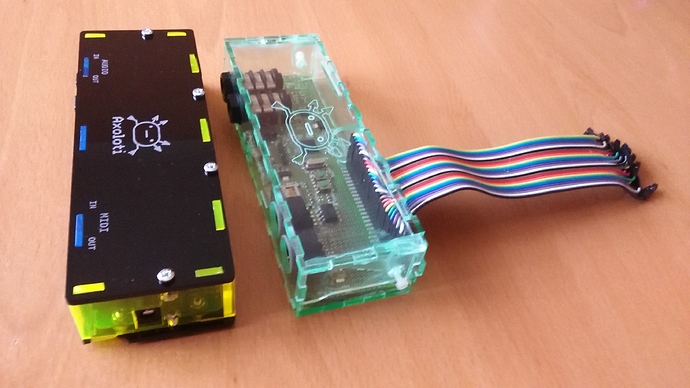
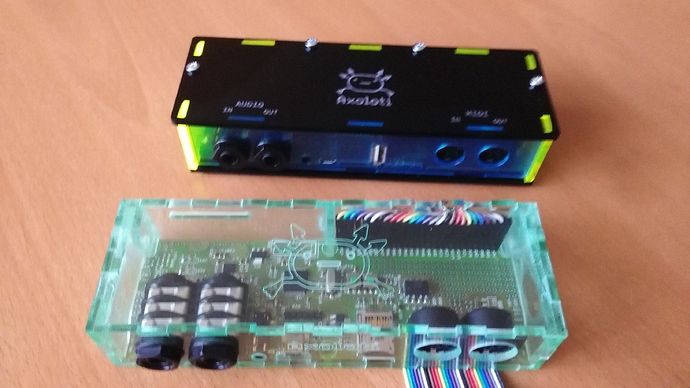
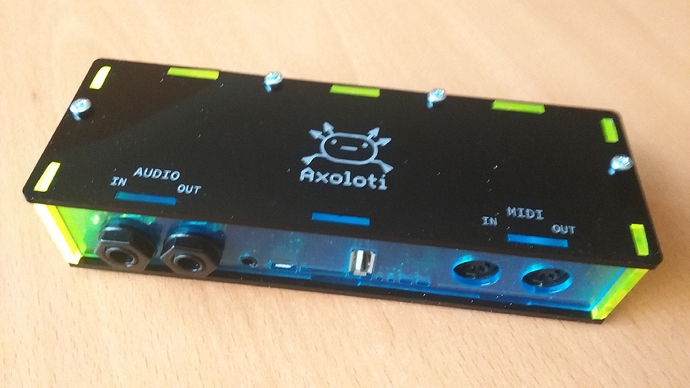
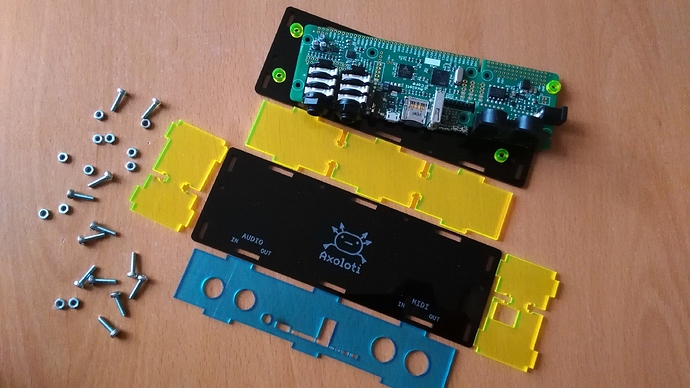
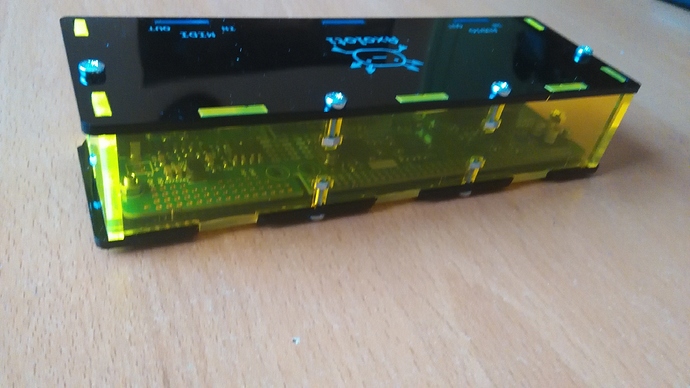
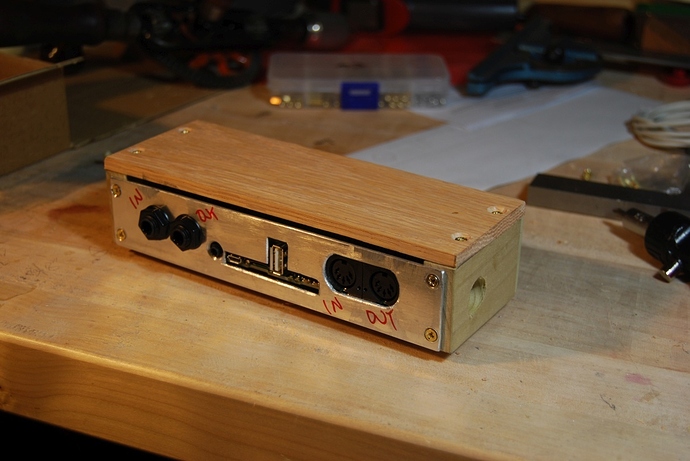
Anyone planning to make and sell an enclosure?
BTW: Has someone made a plan with the cutted PCB stack? Midi as piggy pack over the audio jacks?
Hi hpfmm,
for the pin-out you can find them written on the board itself  or in one of the posts on the forum is a nice picture of the pin-out.
The enclosure source file was designed for the Axoloti board V0.3 in correlation with janvantomme
Planning to redesign the enclosure to fit the V1.0 in a few days and post the files here.
I just soldered pin-headers on the board and connected the wire onto it thru the backplate.
So then you're able to connect them on a breadboard and try out your own add on circuits like potentiometer, stepper motors etc. 
greetings,
Xiao Shi Zi
I think that was a little misunderstanding  I was just talking about the enclosure you made and it's sources. I've seen the inprints telling me the pinout! Thanks for your reply anyways.
I would probably be down for a group order, too, if only to have something to put it in that's small and rugged enough to toss in a shoulder bag for a show. Leaning back toward keeping the control surface I build in a separate enclosure so it's easy to swap out when I inevitably decide I want to change it.
Plus I just picked up a Beatstep Pro and the controller mode seems like it will be a lot more useful than I had expected, so I might offload a lot of the Axoloti controlling to that, at least to begin with.
as this seems to now be the defacto 'enclosure' thread...
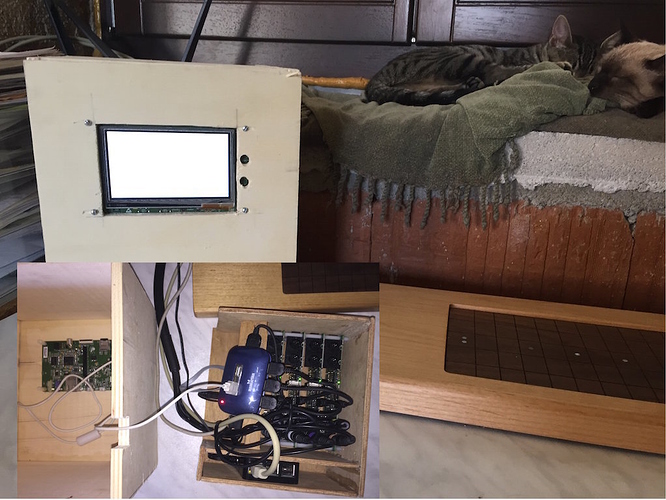
here is my initial prototype of my 'axo cube' - more details on my Axocube thread
(main goal here, is to protect boards from my kittens during development of software)
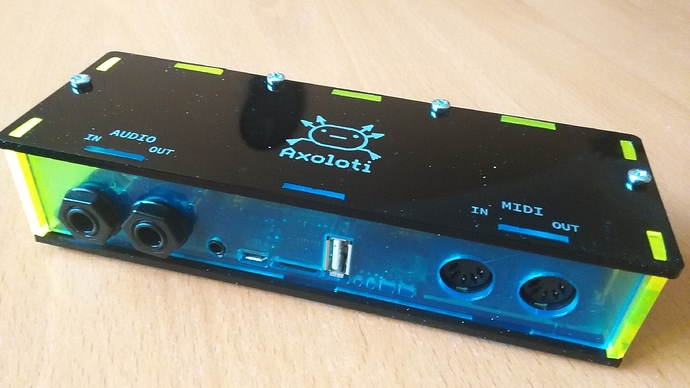
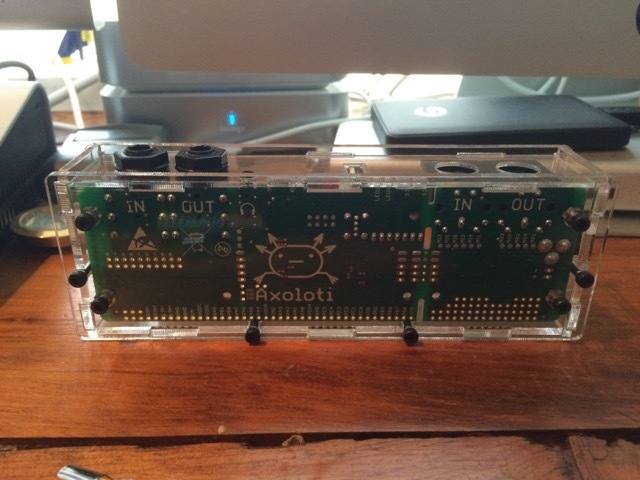
Thank you @janvantomme for your case design! My local fablab had additional requirements for etching which I was too lazy to implement, but as I chose clear acrylic we can still see our little friend on the bottom.
For people who are hand building their cases, I've put together a set of panel templates based on the files janvantomme posted earlier. I've put some basic instructions in the PDF itself, but it should be pretty obvious how it's meant to be used.
The outer border shows the minimum INNER dimensions the front and side panels have to be to give you enough room (almost identical to the original file).
I added:
-a guide showing the bottom plane of the PCB (not including solder points) for figuring out where to position it if you use standoffs instead of mounting to the panel itself.
-center marks for all of the round holes in the front panel, for drilling pilot holes. With a steady hand and the right size bits you should be able to drill out the holes for the audio, midi and headphone jacks without any filing needed.
-a mirrored template for using on the inside faces of the panels, since I can imagine designs where that would make aligning the template easier.
I haven't actually made an enclosure with this yet but I did print it, cut it out and check the alignment of the two halves against my axoloti and it looks like everything lines up as long as the inside faces of the panels you cut meet where the line marked A on the template is.
Axoloti front panel and DC input templates
Hope this is useful!
(still to do - measure and add drill guides for the panel-mount holes on the MIDI DIN jacks)
I'm currently working on an enclosure that can then be 3d printed. Currently I have the front plate right, now I just have to do the sides, and bottom for the mounting holes.

