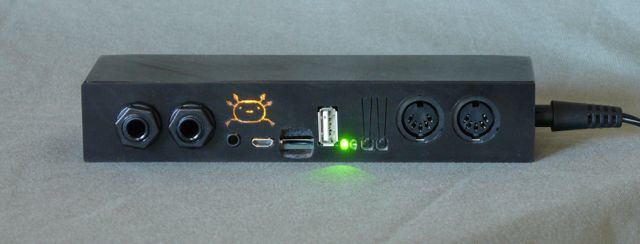
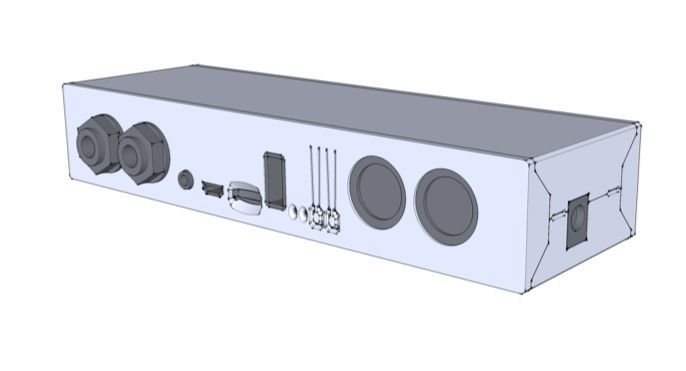
Thanks Johannes!
Paneldesign provided:
Axoloti_Core_PimpedBlack.fpd (1.2 KB)
To anyone downloading/using this. Please share your design as well, it´s fun to see the creative alternatives!
/Mike

Thanks Johannes!
Paneldesign provided:
Axoloti_Core_PimpedBlack.fpd (1.2 KB)
To anyone downloading/using this. Please share your design as well, it´s fun to see the creative alternatives!
/Mike
Thats awesome mike... exactly what I was looking for.
now I just need to make a firm decision on exactly how I want to have my boards setup.... but Im sure you template will gives me the majority of what I need.
(Id assume that the axoloti core boards will all be pretty much the same dimensions)
does that enclosure come with a backing plate? (Im not actually interested in DC socket, so fully closed is fine)
thanks for sharing... will share mine once I finalise it 
Mark
Yes. Plates on both sides, exact same dimensions and position of screws. Even got the feet included. It´s also possible to turn it upside down, and rotate the panel if you rather like the dark grey side up instead (although there are four visible screws for the flanges inside).
You´ve got more than one axoloti cores, right?
/Mike
There can be a tiny bit of variation due to the soldering of the connectors, but that should be less than around half a millimeter. If the panel holes are a bit bigger than strictly needed there should not be a problem. The tolerances on the mounting holes and board outline should be pretty tight...
Another option for enclosure is farnell #1549974. Axoloti core slides in the slots after removing the DC socket. Add a similar frontpanel from schaeffer and it should look fine! It has space to fit two panel mount jack sockets, so you could rewire the stereo line in/out into dual mono line in/out.
After cutting the DC socket on the circuit board, it is still possible to wire up a panel-mount DC socket to the "X2" solder holes on the Axoloti Core.
I have made a printable Axoloti case.
"Look, Ma, no screws!" Two parts only, snap-locking.
I made the glowing transparent Axoloti logo just by changing materials between certain printing layers and mounting an LED behind it.
I am not yet very content with it, though, it is merely a first prototype. But I could imagine to make the design public later. Certainly I will not publish something with the logo as "mine". But we could consider making this printable case the "official" one, couldn't we? If it's open-source, users can design their personal variants and find someone to let it 3D print.
@Jens_Groh Great. I have a 3D printer in my office. Let me know if i can help you by testing your g-code.
I like the fact that this enclosure doesn't have the overlapping top and bottom edges. Would love to print it.
Glad you like the look. But it is difficult to print, I had to straighten some deformations. I want to make it reproducible and easy to print. It will probably be a four part shell next time.
But first give me some time to explore the software side of my new toy. I want to make some noises!
Hi @cereyanlimusiki, check on https://www.fablabs.io/map if there's a fablab nearby, grab the files on a stick and get there to lasercut your "JanVanTommeAxolotiEnclosure" 
How close is the 2mm backplate to the components? I'd like to make a Ponoko design out of one 3mm sheet and that would mean making the backplate 3mm. I'd rather extend it inwards if possible but obviously only if there's room. In which case it goes outwards, which may make plugs (like the miniUSB) difficult to access.
The 2mm plate was the thinnest one we had at the fablab. A plate of 1mm or 1.5mm would be a better fit.
Thanks. I'll extend the backplate backwards 1mm then and see how it goes. If it works well I'll leave the plan up on Ponoko for others.
Here are the STL files for my improved 3D-Print Axoloti case. 
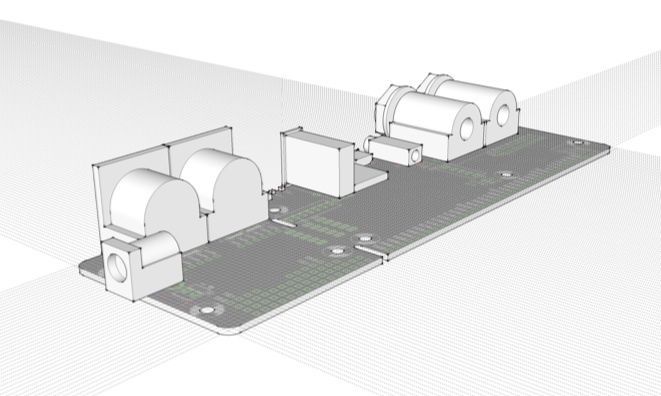
Those who design with Sketchup can use the corresponding design file for their own modifications. It also contains this useful AxolotiCore object: 
Good luck with the printing!